How We Make Lattes At Home - Guest Post by Matt
our daily latte routine
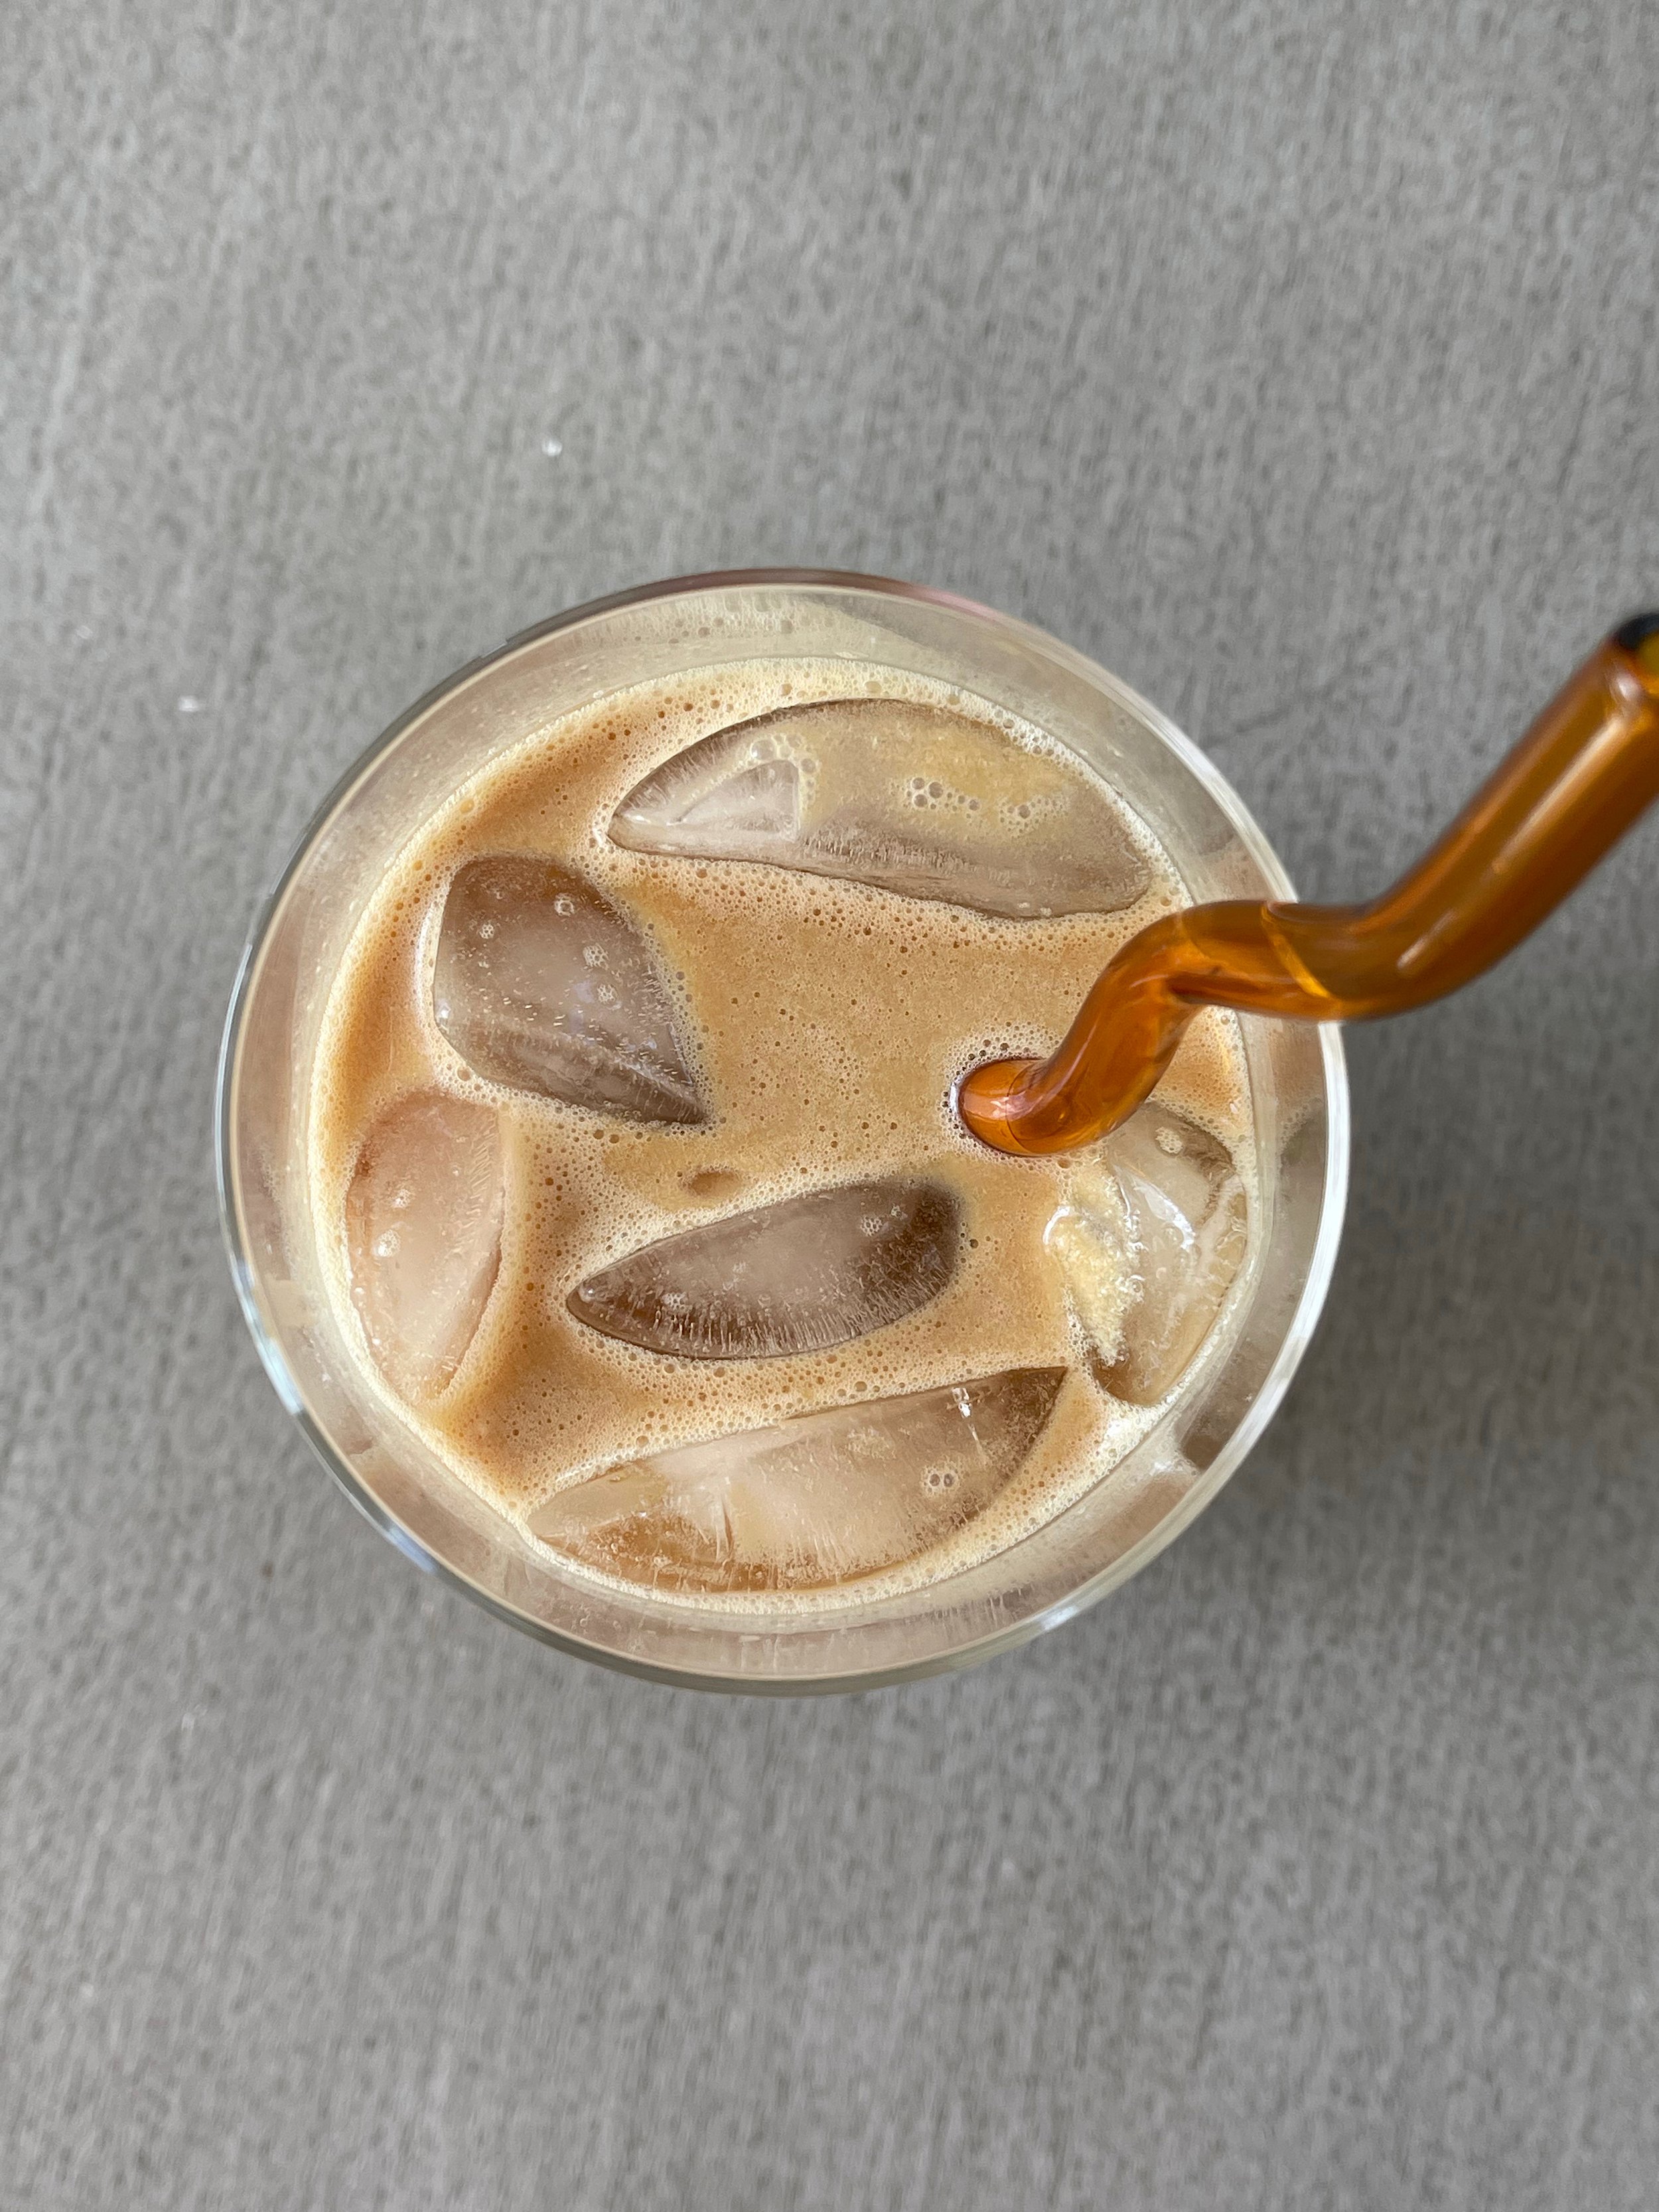
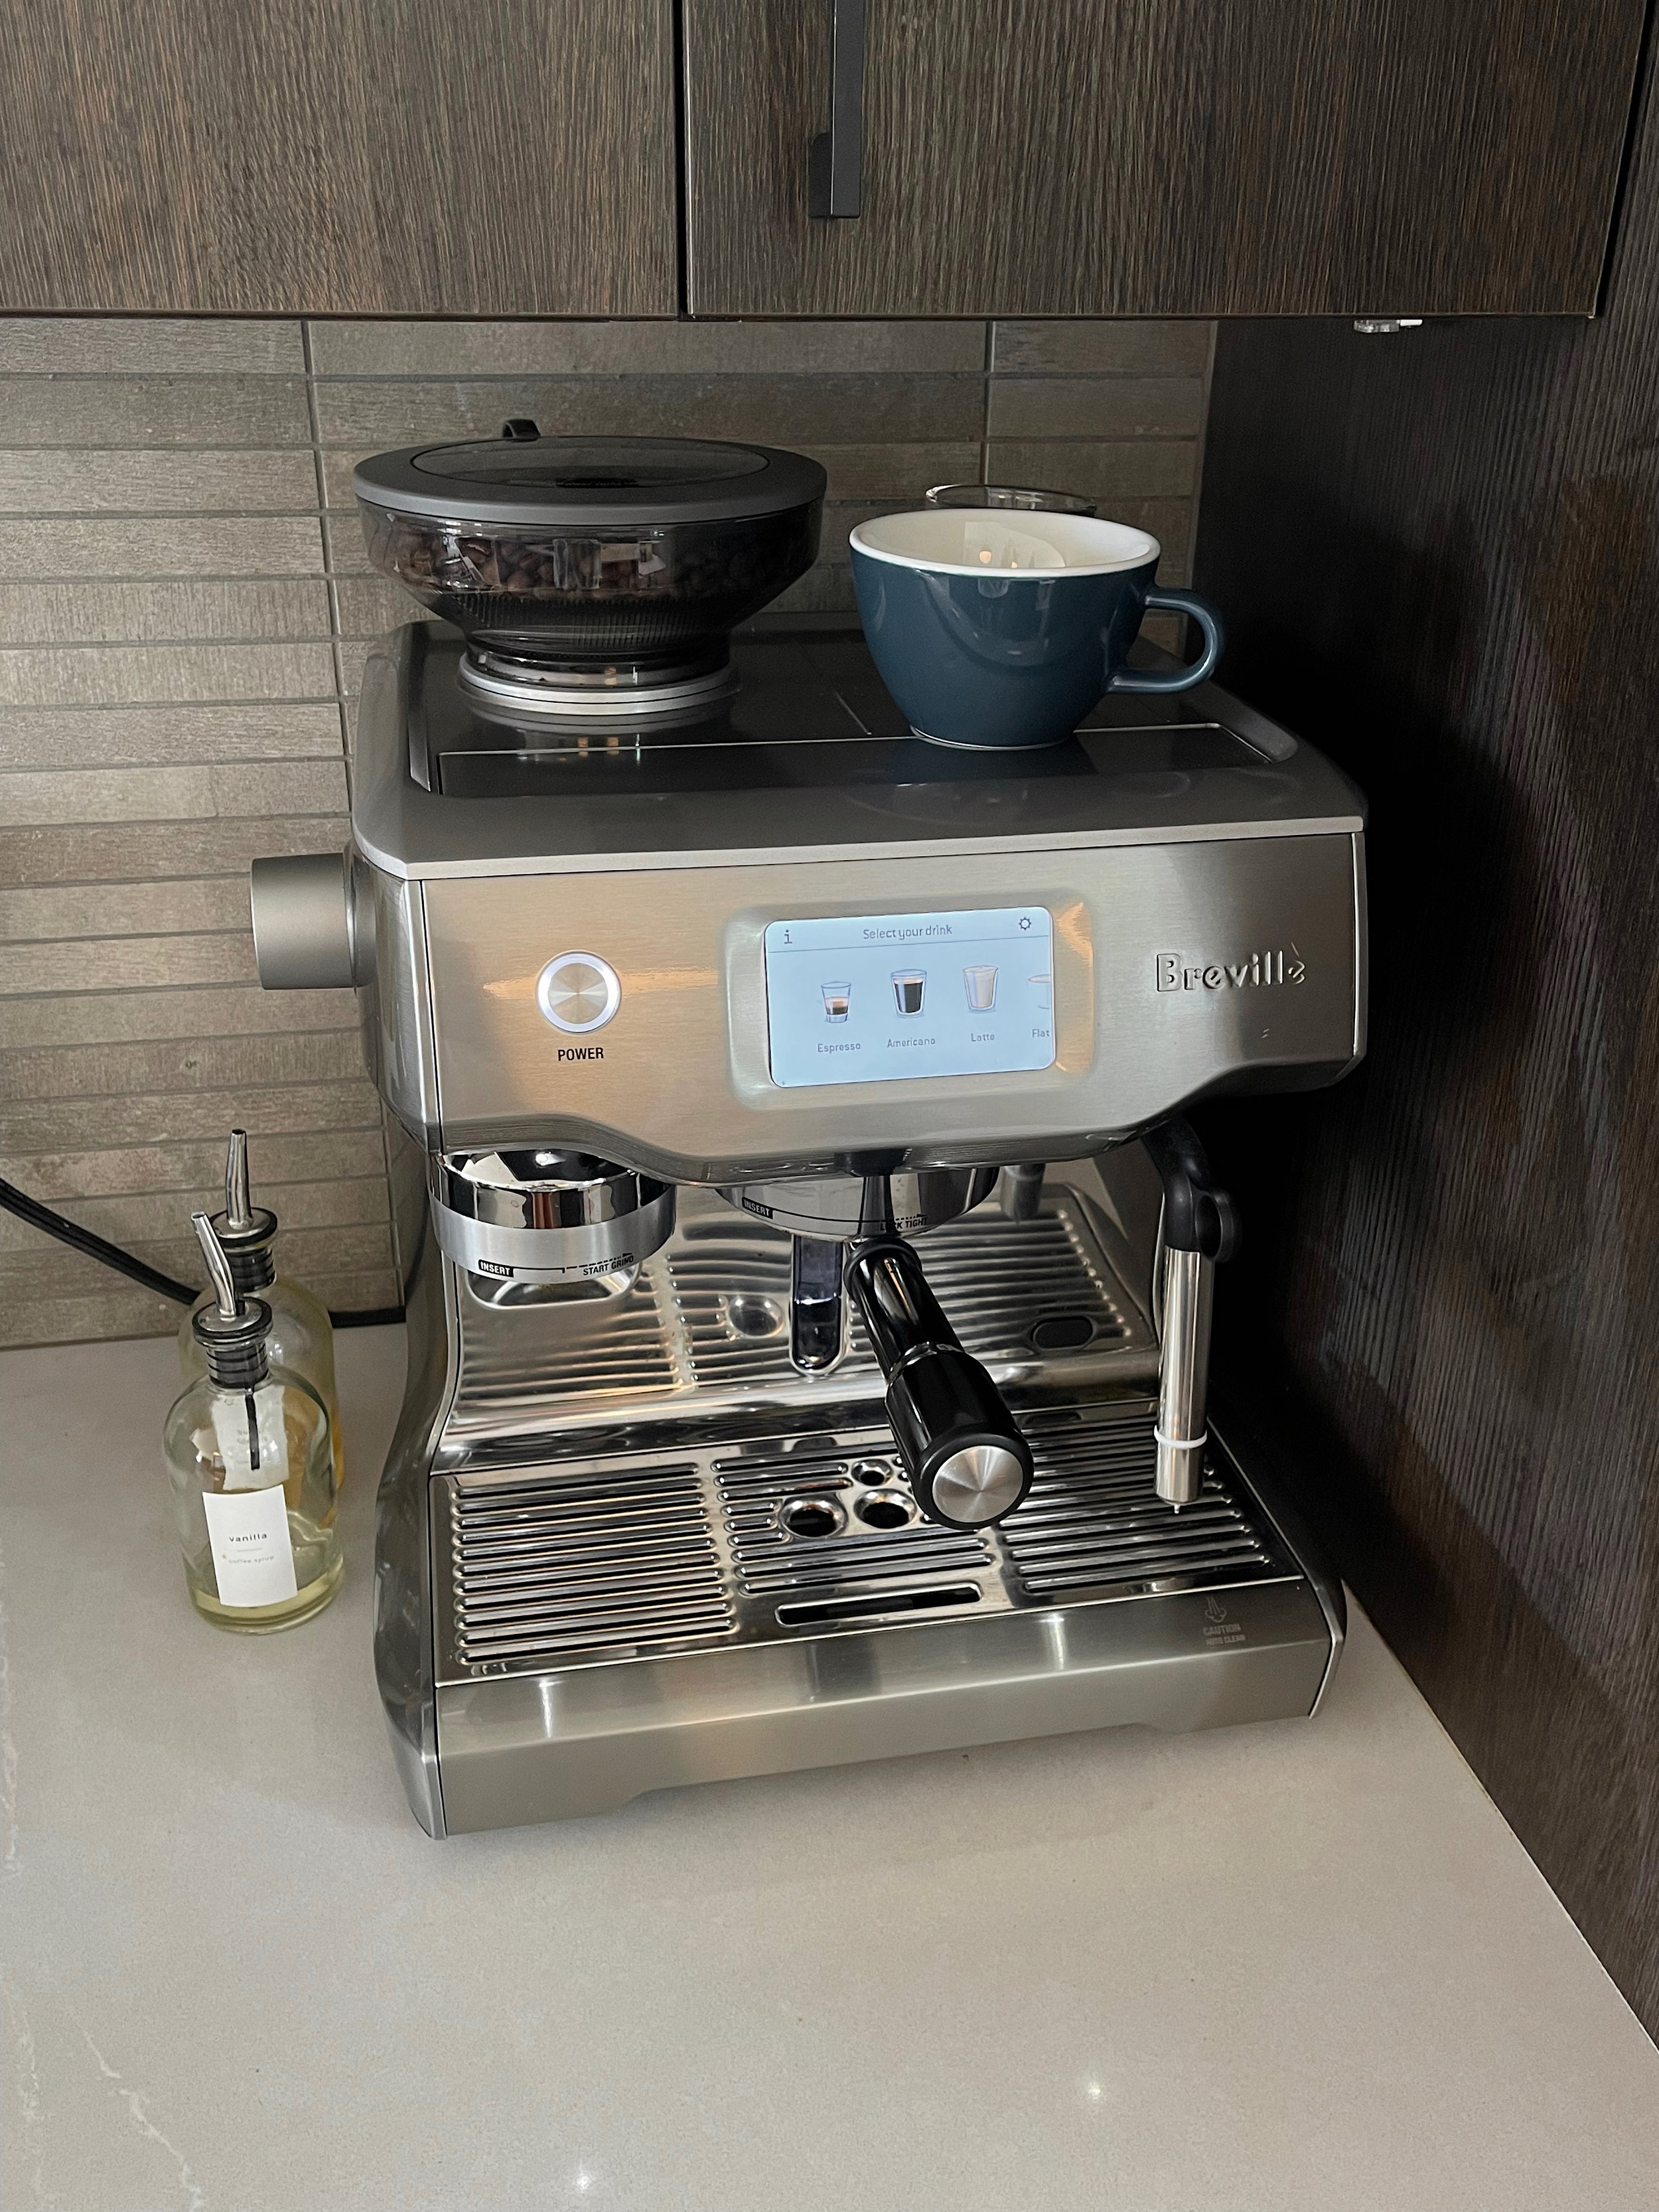
Here’s a look at Bre’s daily iced latte routine with our Breville Oracle Touch espresso machine. We love our daily lattes & have really been enjoying our espresso machine for the year we’ve had it. Bre always does iced lattes, and I always do hot ones. This post will focus on the iced lattes, but I’ll comment briefly on the hot ones at the end too. For those considering an espresso machine to cut back on $7 lattes, or the average coffee drinker, the thoughts and detail here will hopefully be helpful! For the coffee enthusiast, the lack of in-depth analysis or fluency in coffee jargon may bother you (to be fair, almost everything in here might bother you)… just fair warning!
I’ll describe our routine based on Bre’s order of operations in this video (watch HERE), and will add some additional commentary that couldn’t make it in the video. For those who don’t know too much about different types of coffee drinks — neither Bre nor I knew much before the last couple years — a latte is a mix of espresso and your choice of milk (and a little sweetener, if you’d like; Bre uses vanilla coffee syrup, I personally use honey). Coffee enthusiasts will scoff at using sweetener, but you do you boo!
the breakdown
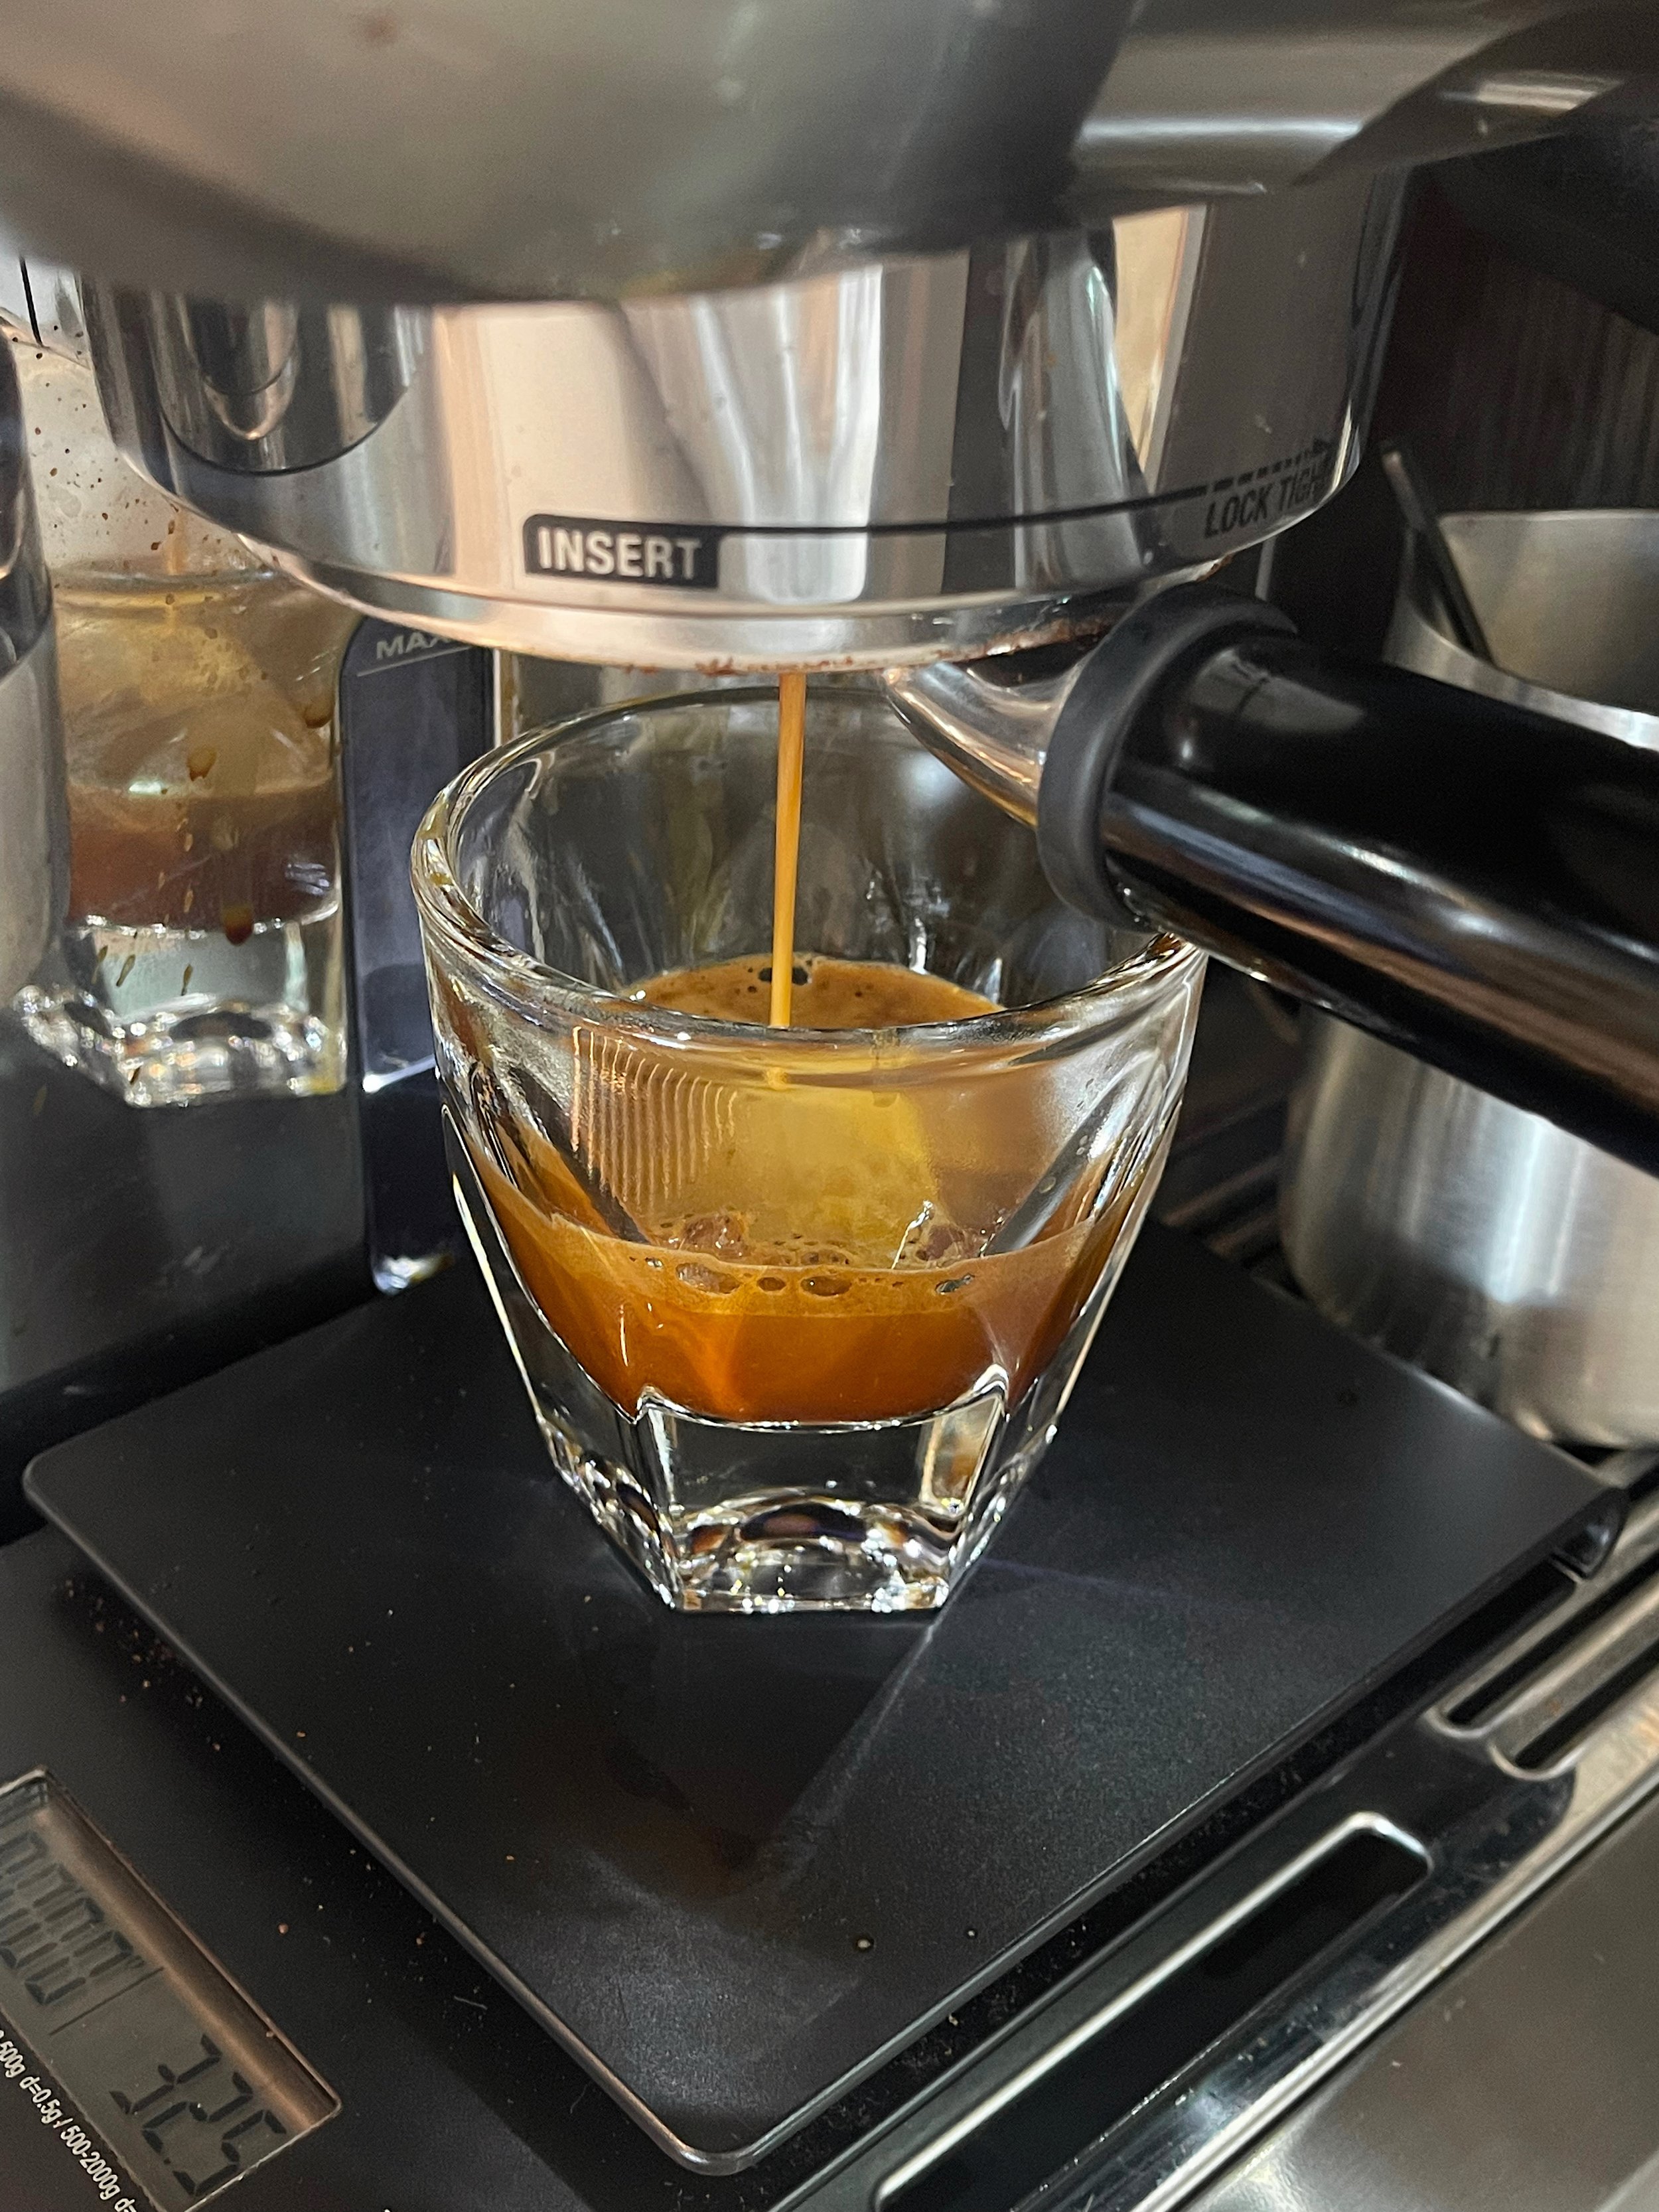
To start we’re adding a little bit of vanilla syrup (flavoring) to the cup to sweeten the taste; the flavor we’re using is called Madagascar vanilla and is by the brand Monin. Next we’re doing about 8 ounces of milk — in the video Bre is using 4 ounces of almond milk and 4 ounces of oat milk (eyeball measurements). I personally prefer whole milk in my coffee but you can go with whatever you like or fits your nutritional needs. As we get ready to use the machine you’ll see in the video Bre zeros-out the scale that we have by adding the cup and then turning on the scale. We’re doing this so that when the espresso pours into the cup we can weigh how much brewed (liquid) espresso actually pours into the cup. This is one of the keys to getting consistent, delicious espresso everyday. To begin using the machine you move the Portafilter, which is the basket with the handle, into the grinder. Our machine has a built-in grinder which takes whole beans from the hopper on top and grinds them down finely, like sand, into the Portafilter basket, then tamps (flattens/compresses) them with the tamper built into the bottom of the grinder — it automatically does this on this machine. The espresso beans we’ve been using for the past year are called “Big Joy” by Camber (based here in Washington state). The Portafilter collects and tamps about 19 grams of ground coffee from the grinder — 18-21 grams is recommended for a double shot of espresso, which is what’s typically used to make a latte. Once the grinder is done you remove the Portafilter from the grinder and place it in the Group Head, which is in the middle of the machine where the brewed espresso will come out. We keep the water in our machine at 200°F. During brewing this hot water pours through the coffee grounds and into the cup, creating brewed espresso. To catch the espresso we place the Cortado cup and scale underneath the group head and Portafilter. We press the Brew button on our touchscreen and allow the brewing process to happen for 25-30 seconds. There are varying opinions on how much liquid espresso is best, but in general the “golden ratio” rule is that you want a 1:2 ratio, meaning with 19 grams of ground beans, you want to produce about 38 grams (double the weight of ground beans) of brewed espresso to come out of the machine — which is why we’re weighing it. Our machine always produces the same amount of ground beans (19 grams), which is why we didn’t also weight that. We’re not scientists or full time baristas, so we’re personally happy with roughly between 30-45 grams of espresso in our cup at the end of this process. While there are many ways to adjust how much espresso is produced, we’ve chosen to keep most factors constant — we either adjust the grind size of the beans or the brew time of the coffee (between 25-30 seconds) if we’re not getting our desired output. Once we have our espresso, and it’s within our target weight of 30-45 grams, we pour it into our milk. Finally, add ice, stir, and enjoy! That’s it. Keep in mind this is how our exact machine operates; so depending on your machine this may look different. We have really enjoyed this espresso machine (Breville Oracle Touch) the past year. Although it does take some time to learn the process, it is fairly simple and fun to use. Feel free to comment or DM us with thoughts or questions. We’re still learning and are far from experts, but our coffee is pretty delicious - which is the whole point, right?
a few more details
When Making A Hot Latte:
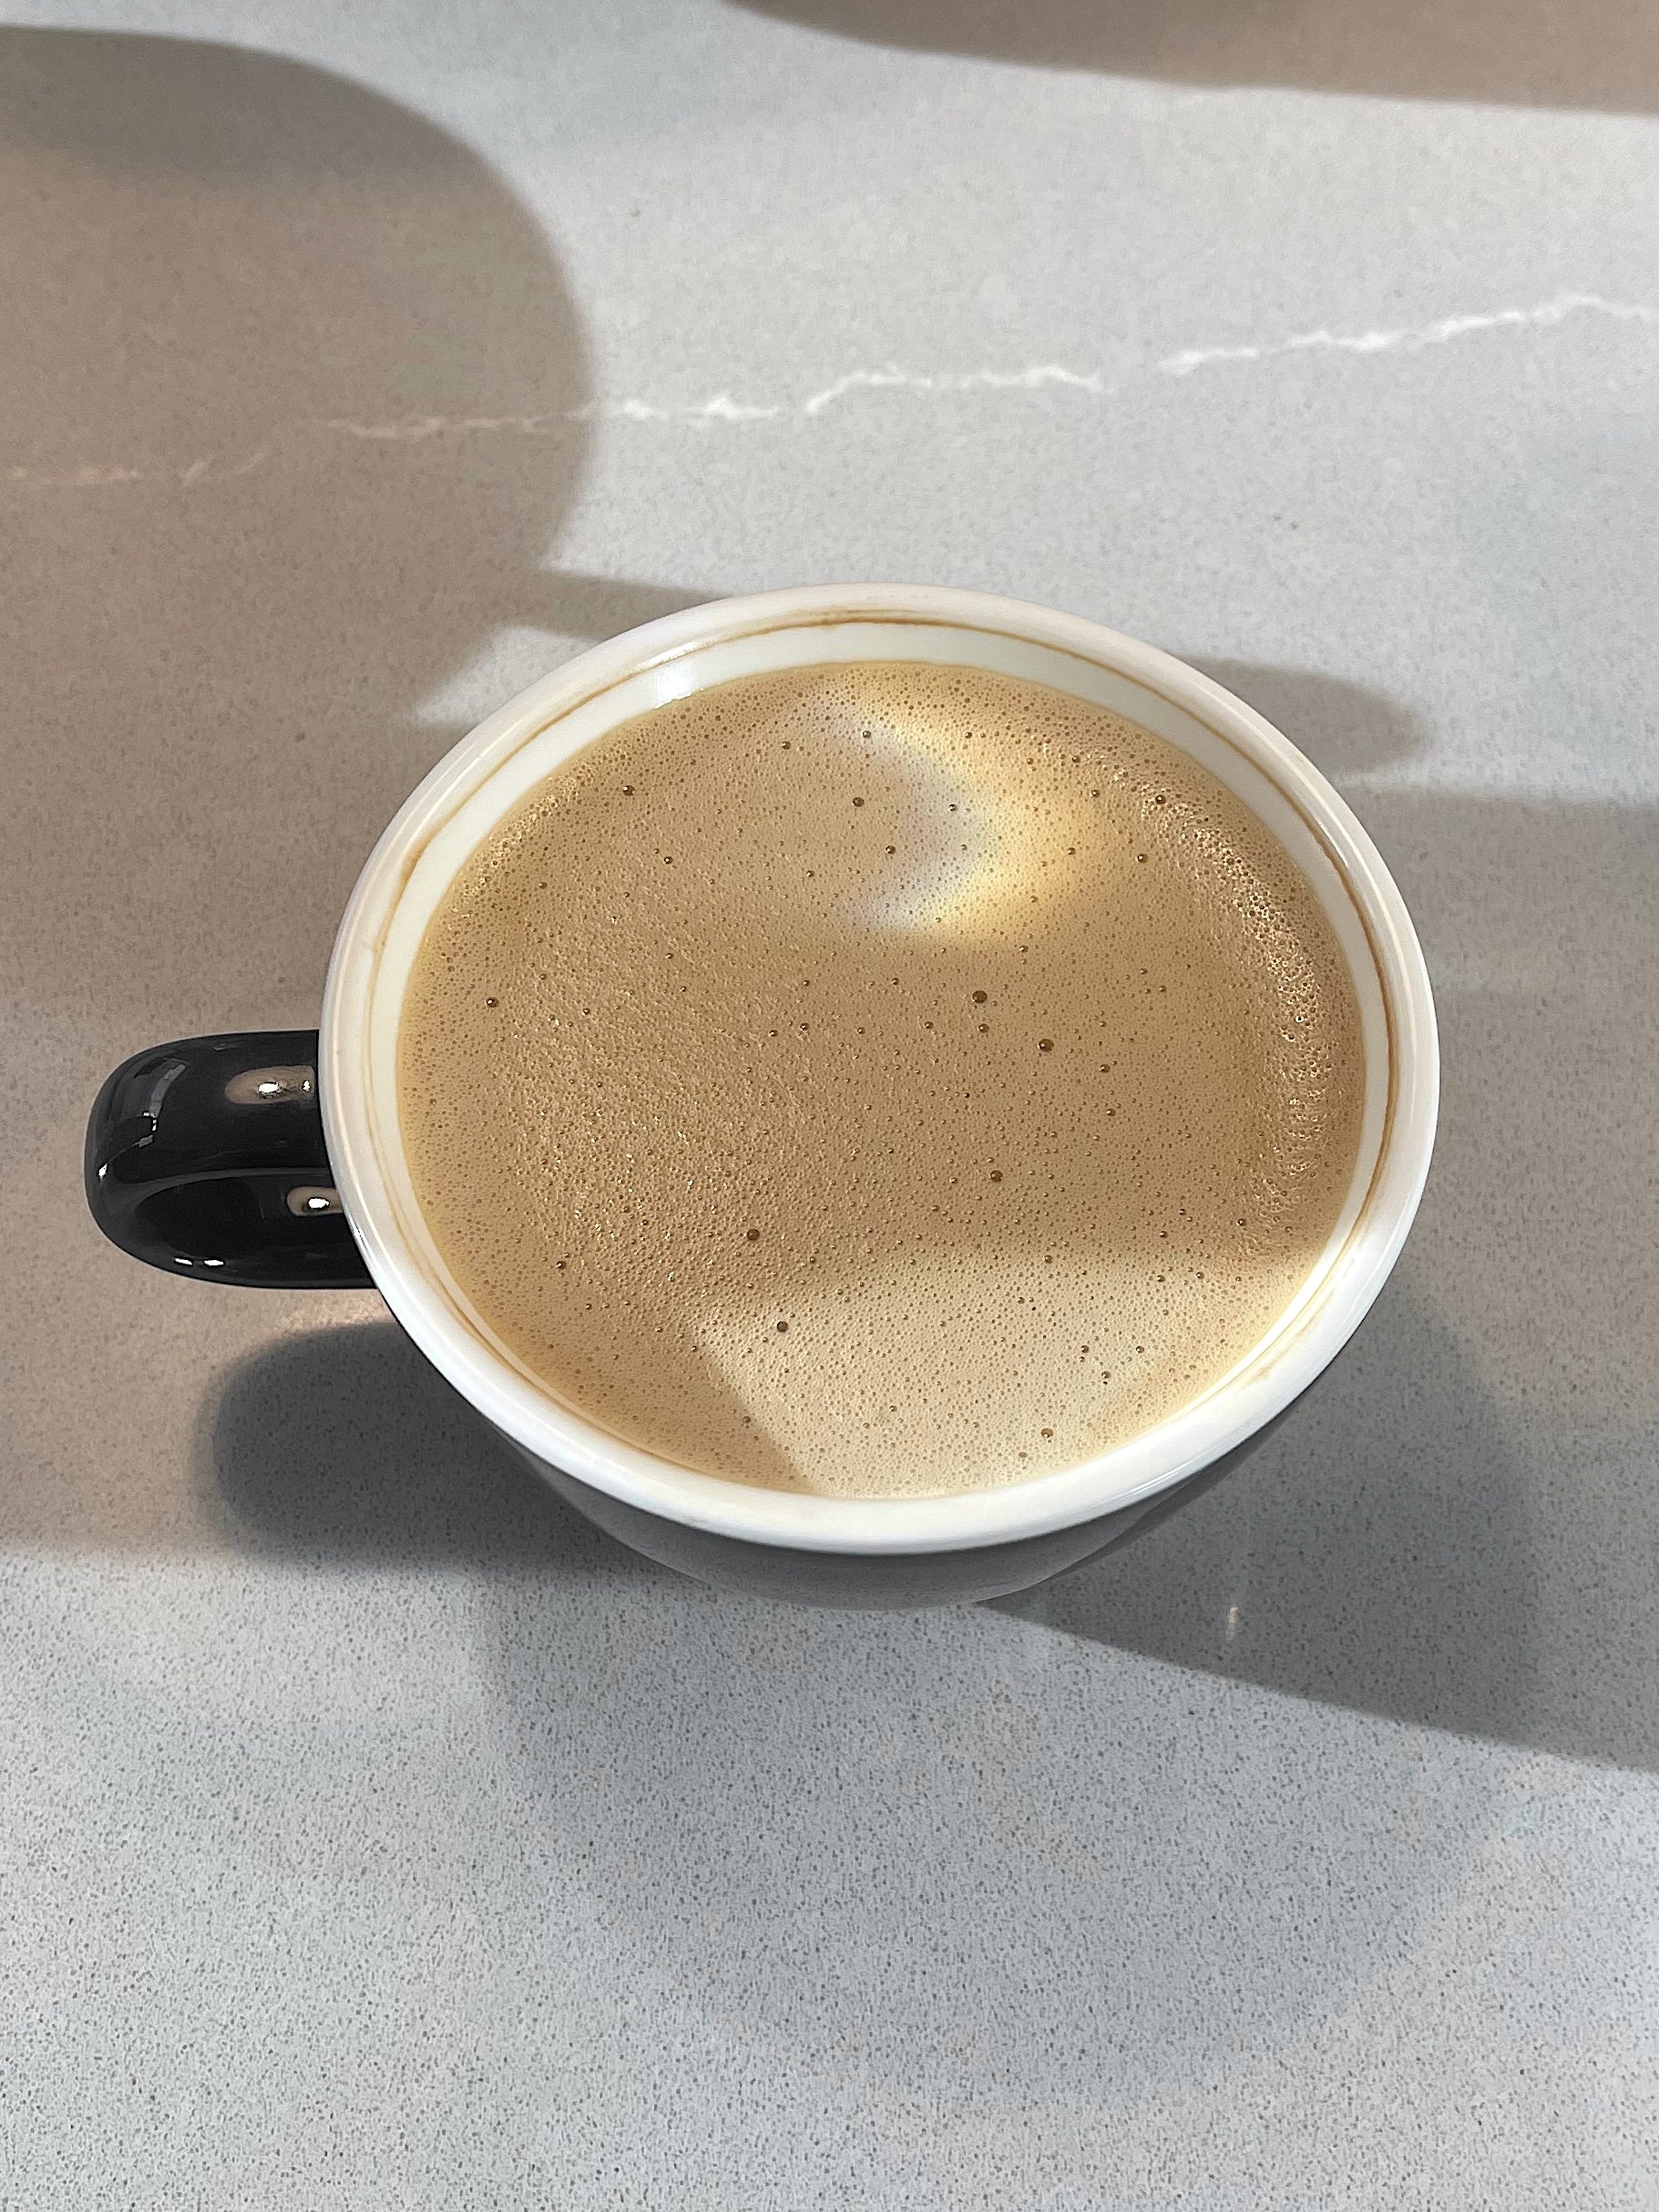
For the hot lattes I mentioned at the beginning of this article, you would froth (think: heating and stirring/thickening) milk instead of pouring cold milk. The Oracle touch machine we have has a built-in “frother,” which makes life easy. For my hot lattes, I make espresso the exact same way Bre did above, then add some frothed milk and a little honey.
Our Current Favorite Beans:
+ “Big Joy” by Camber (based here in Washington state)
Quick Breakdown Of Exactly What We Do:
+ Start with a splash of vanilla syrup (honey, any syrup, or no flavor at all if you choose)
+ I add 4 ounces almond milk & 4 ounces oat milk - I like the blend of both
+ Zero-out the scale with the cortado cup for measuring brewed espresso output
+ Lock Portafilter into Grinder, which produces and Tamps 18 grams of ground beans with this machine
+ Remove it from Grinder and lock into the Group Head
+ Place Cortado cup and scale under Portafilter
+ Press “Brew” button and let brew for 25-30 seconds aiming for 36 grams of brewed espresso on the scale
+ Pour espresso into syrup and milk
+ Finally, add ice and stir! ENJOY!