Nursery Lime Paint - How To & Tips
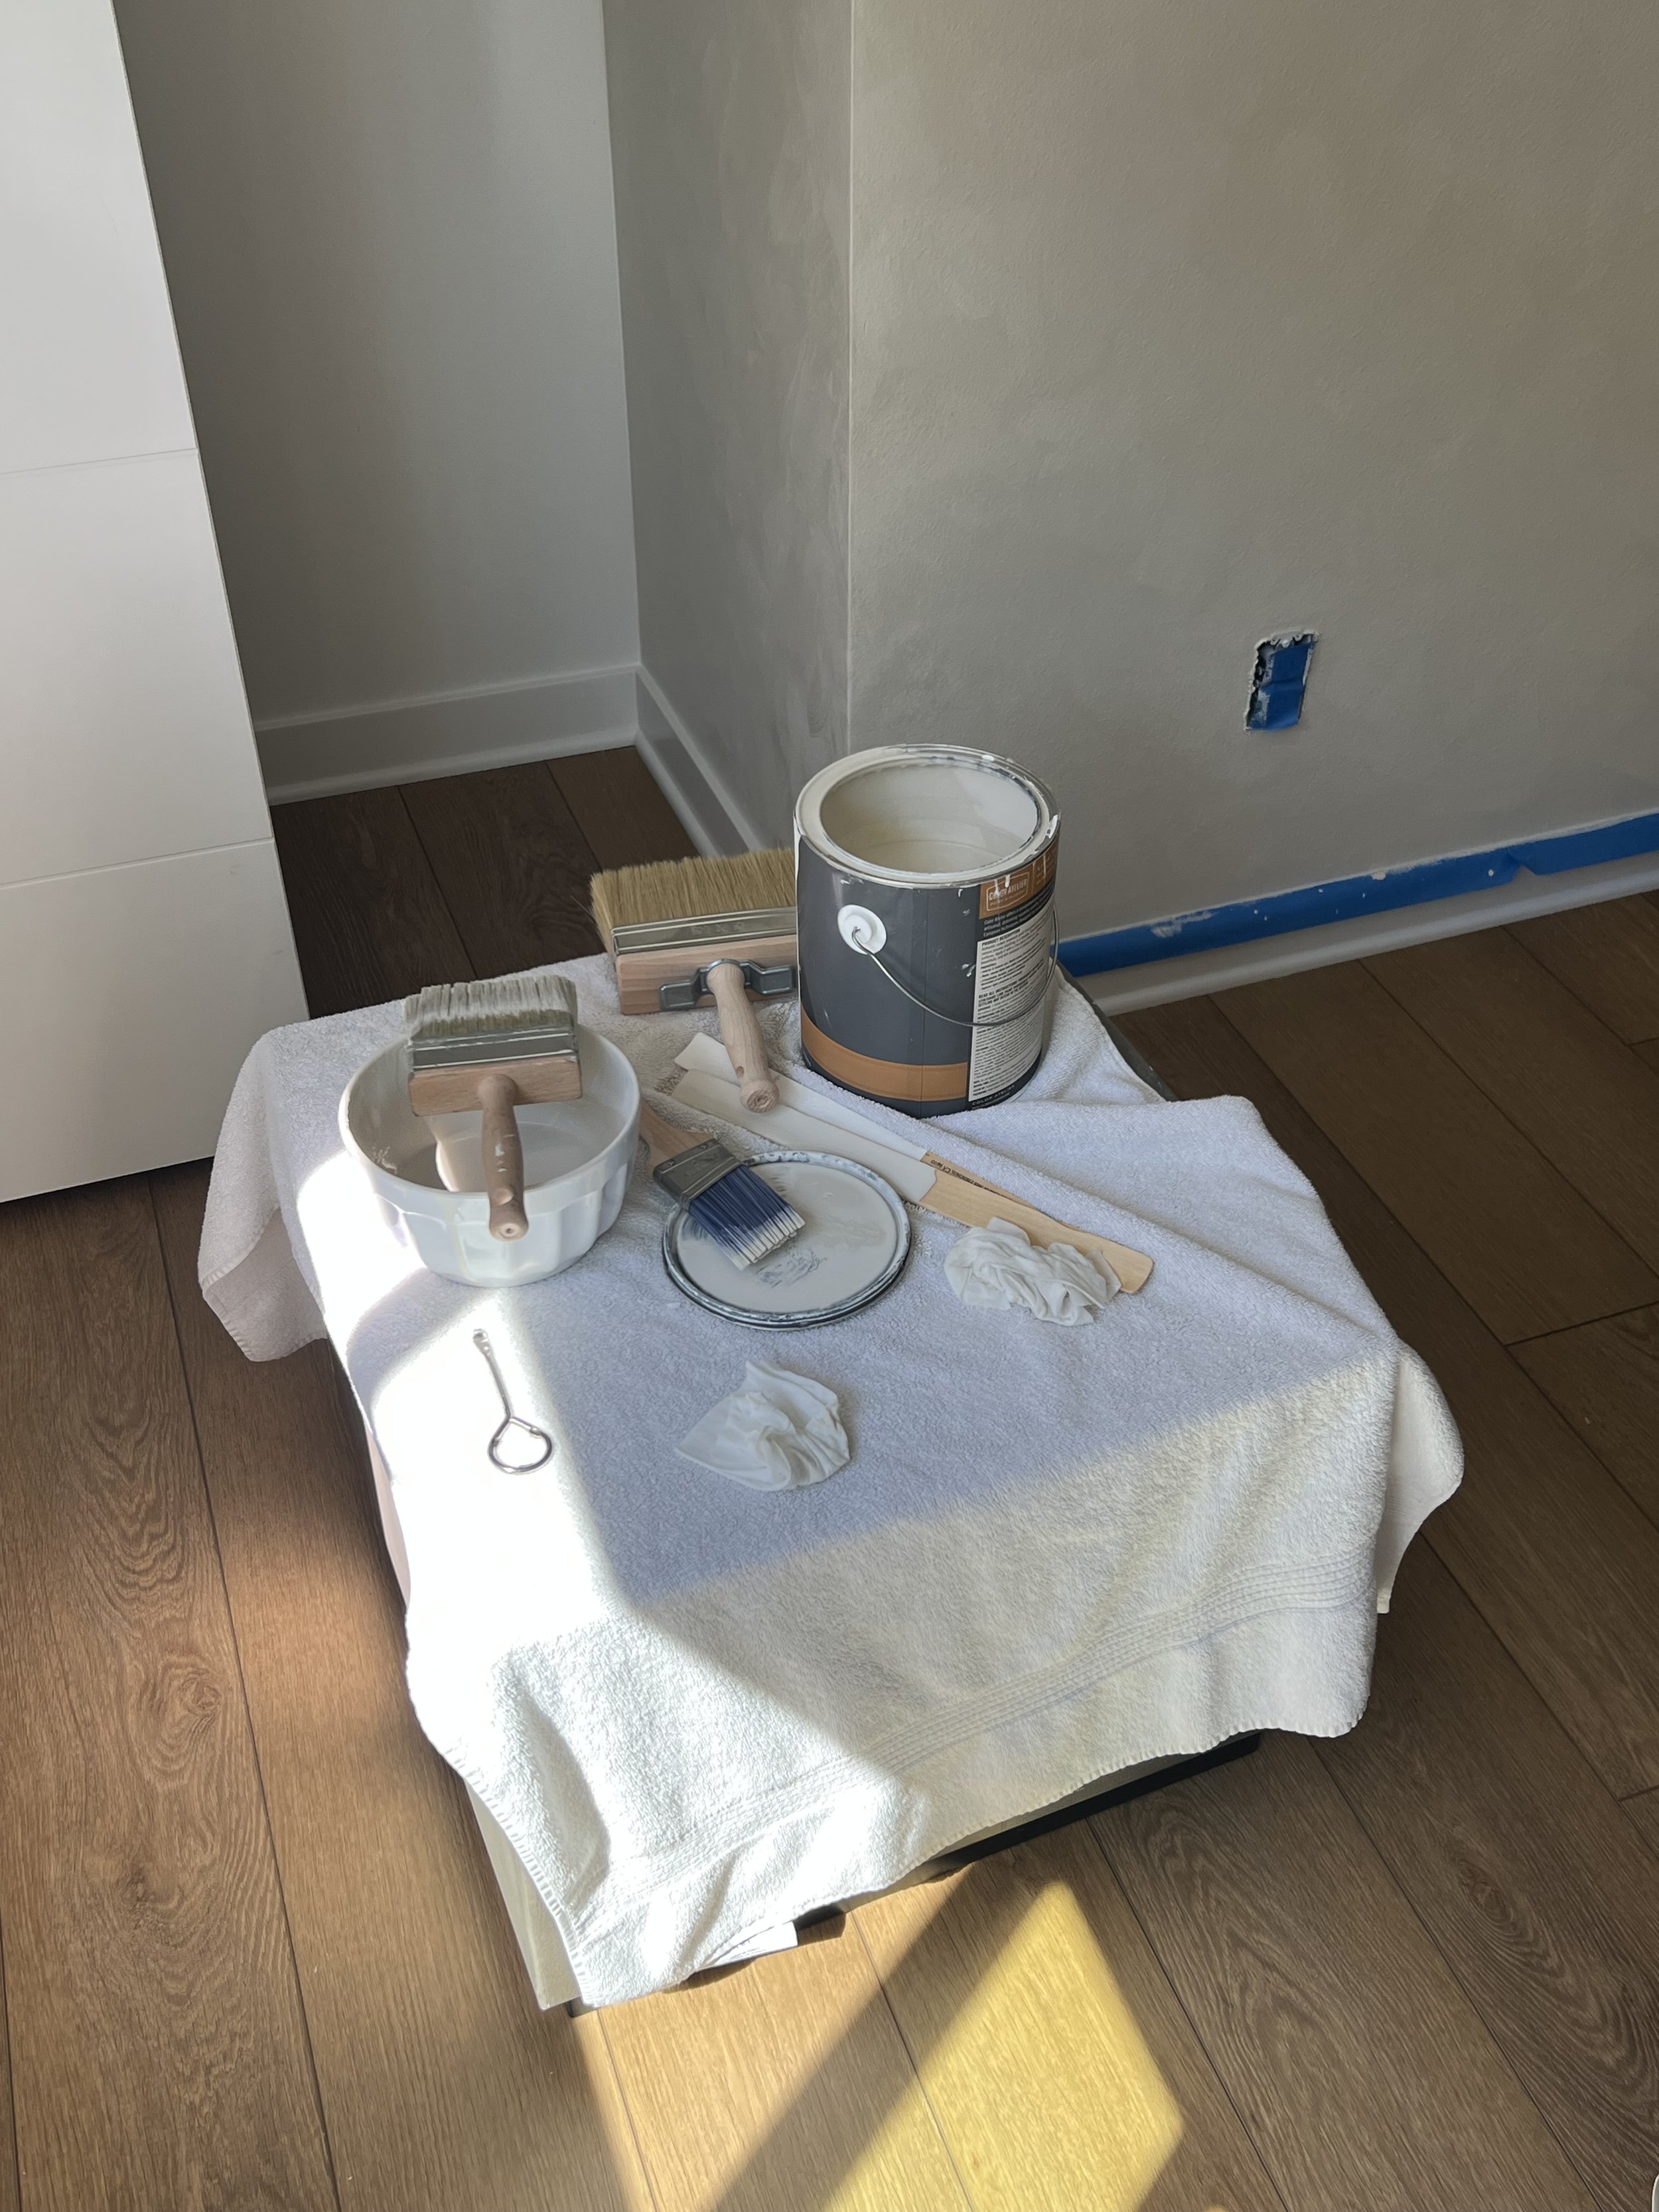
What you will need:
+ Painters tape
+ Primer
+ Paint roller & paint tray
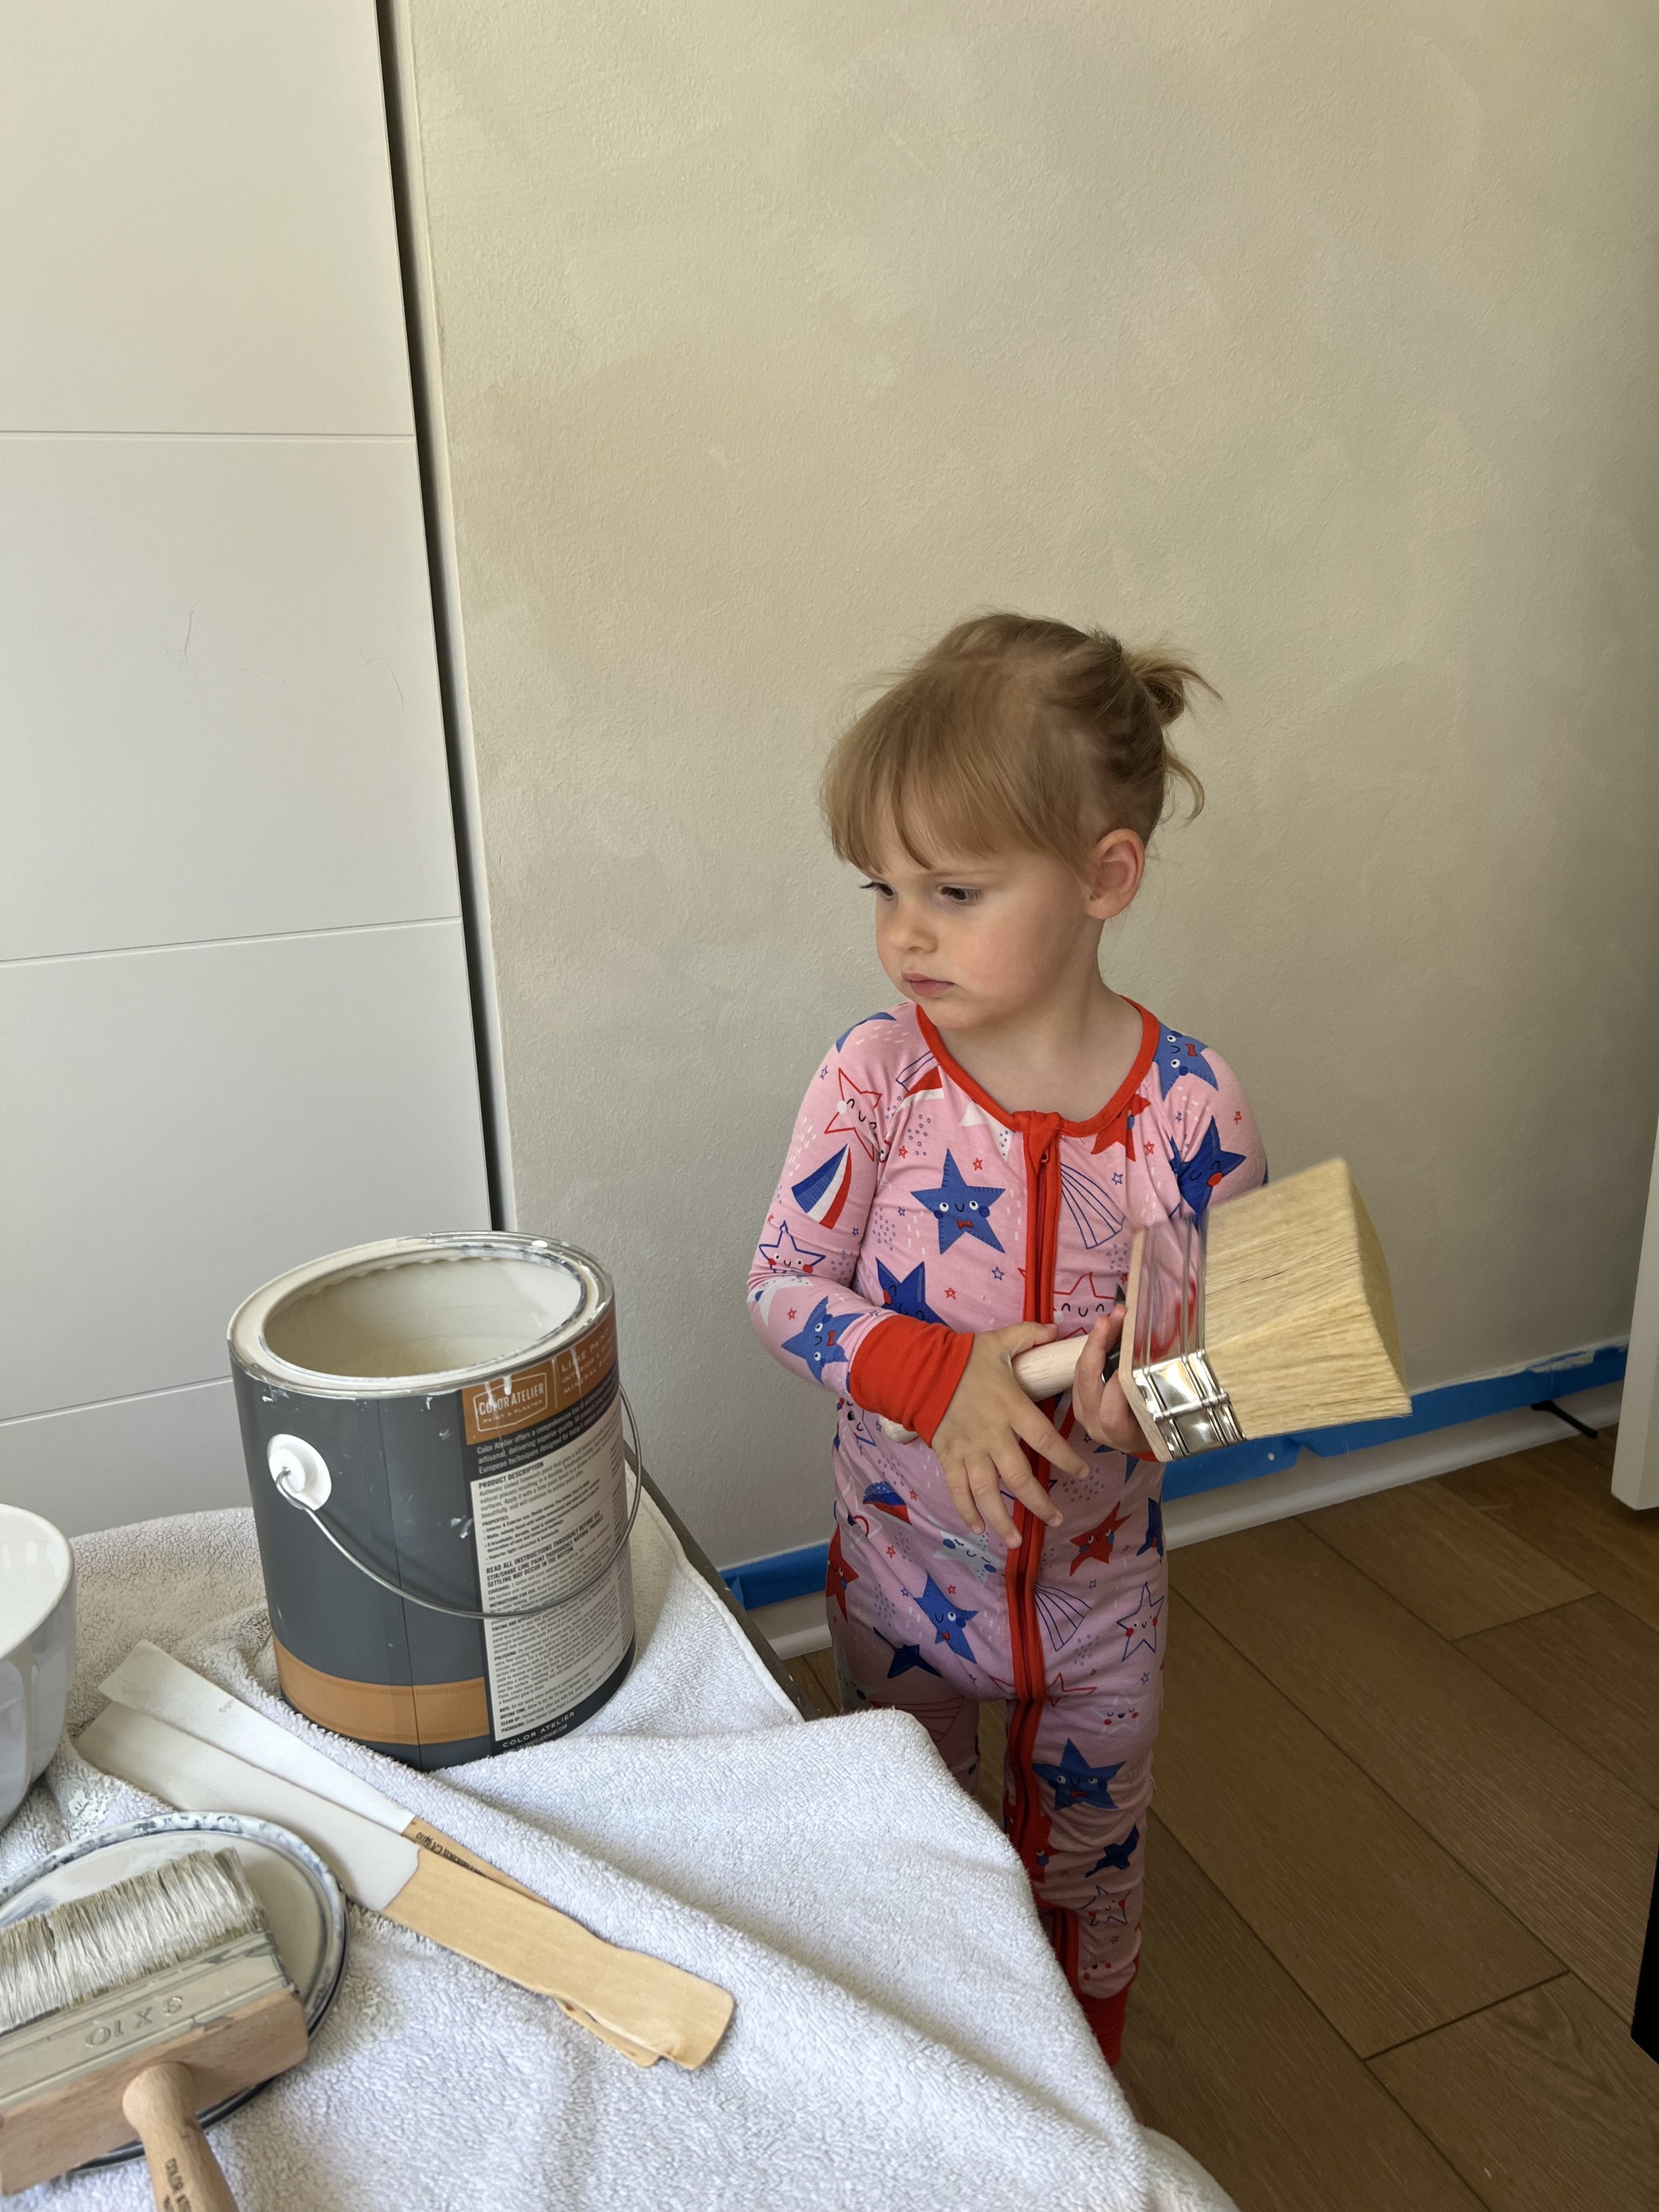
+ Lime paint (I used the brand Color Atelier)
+ Lime paint brush & bowl
I will link everything I used for this project here!
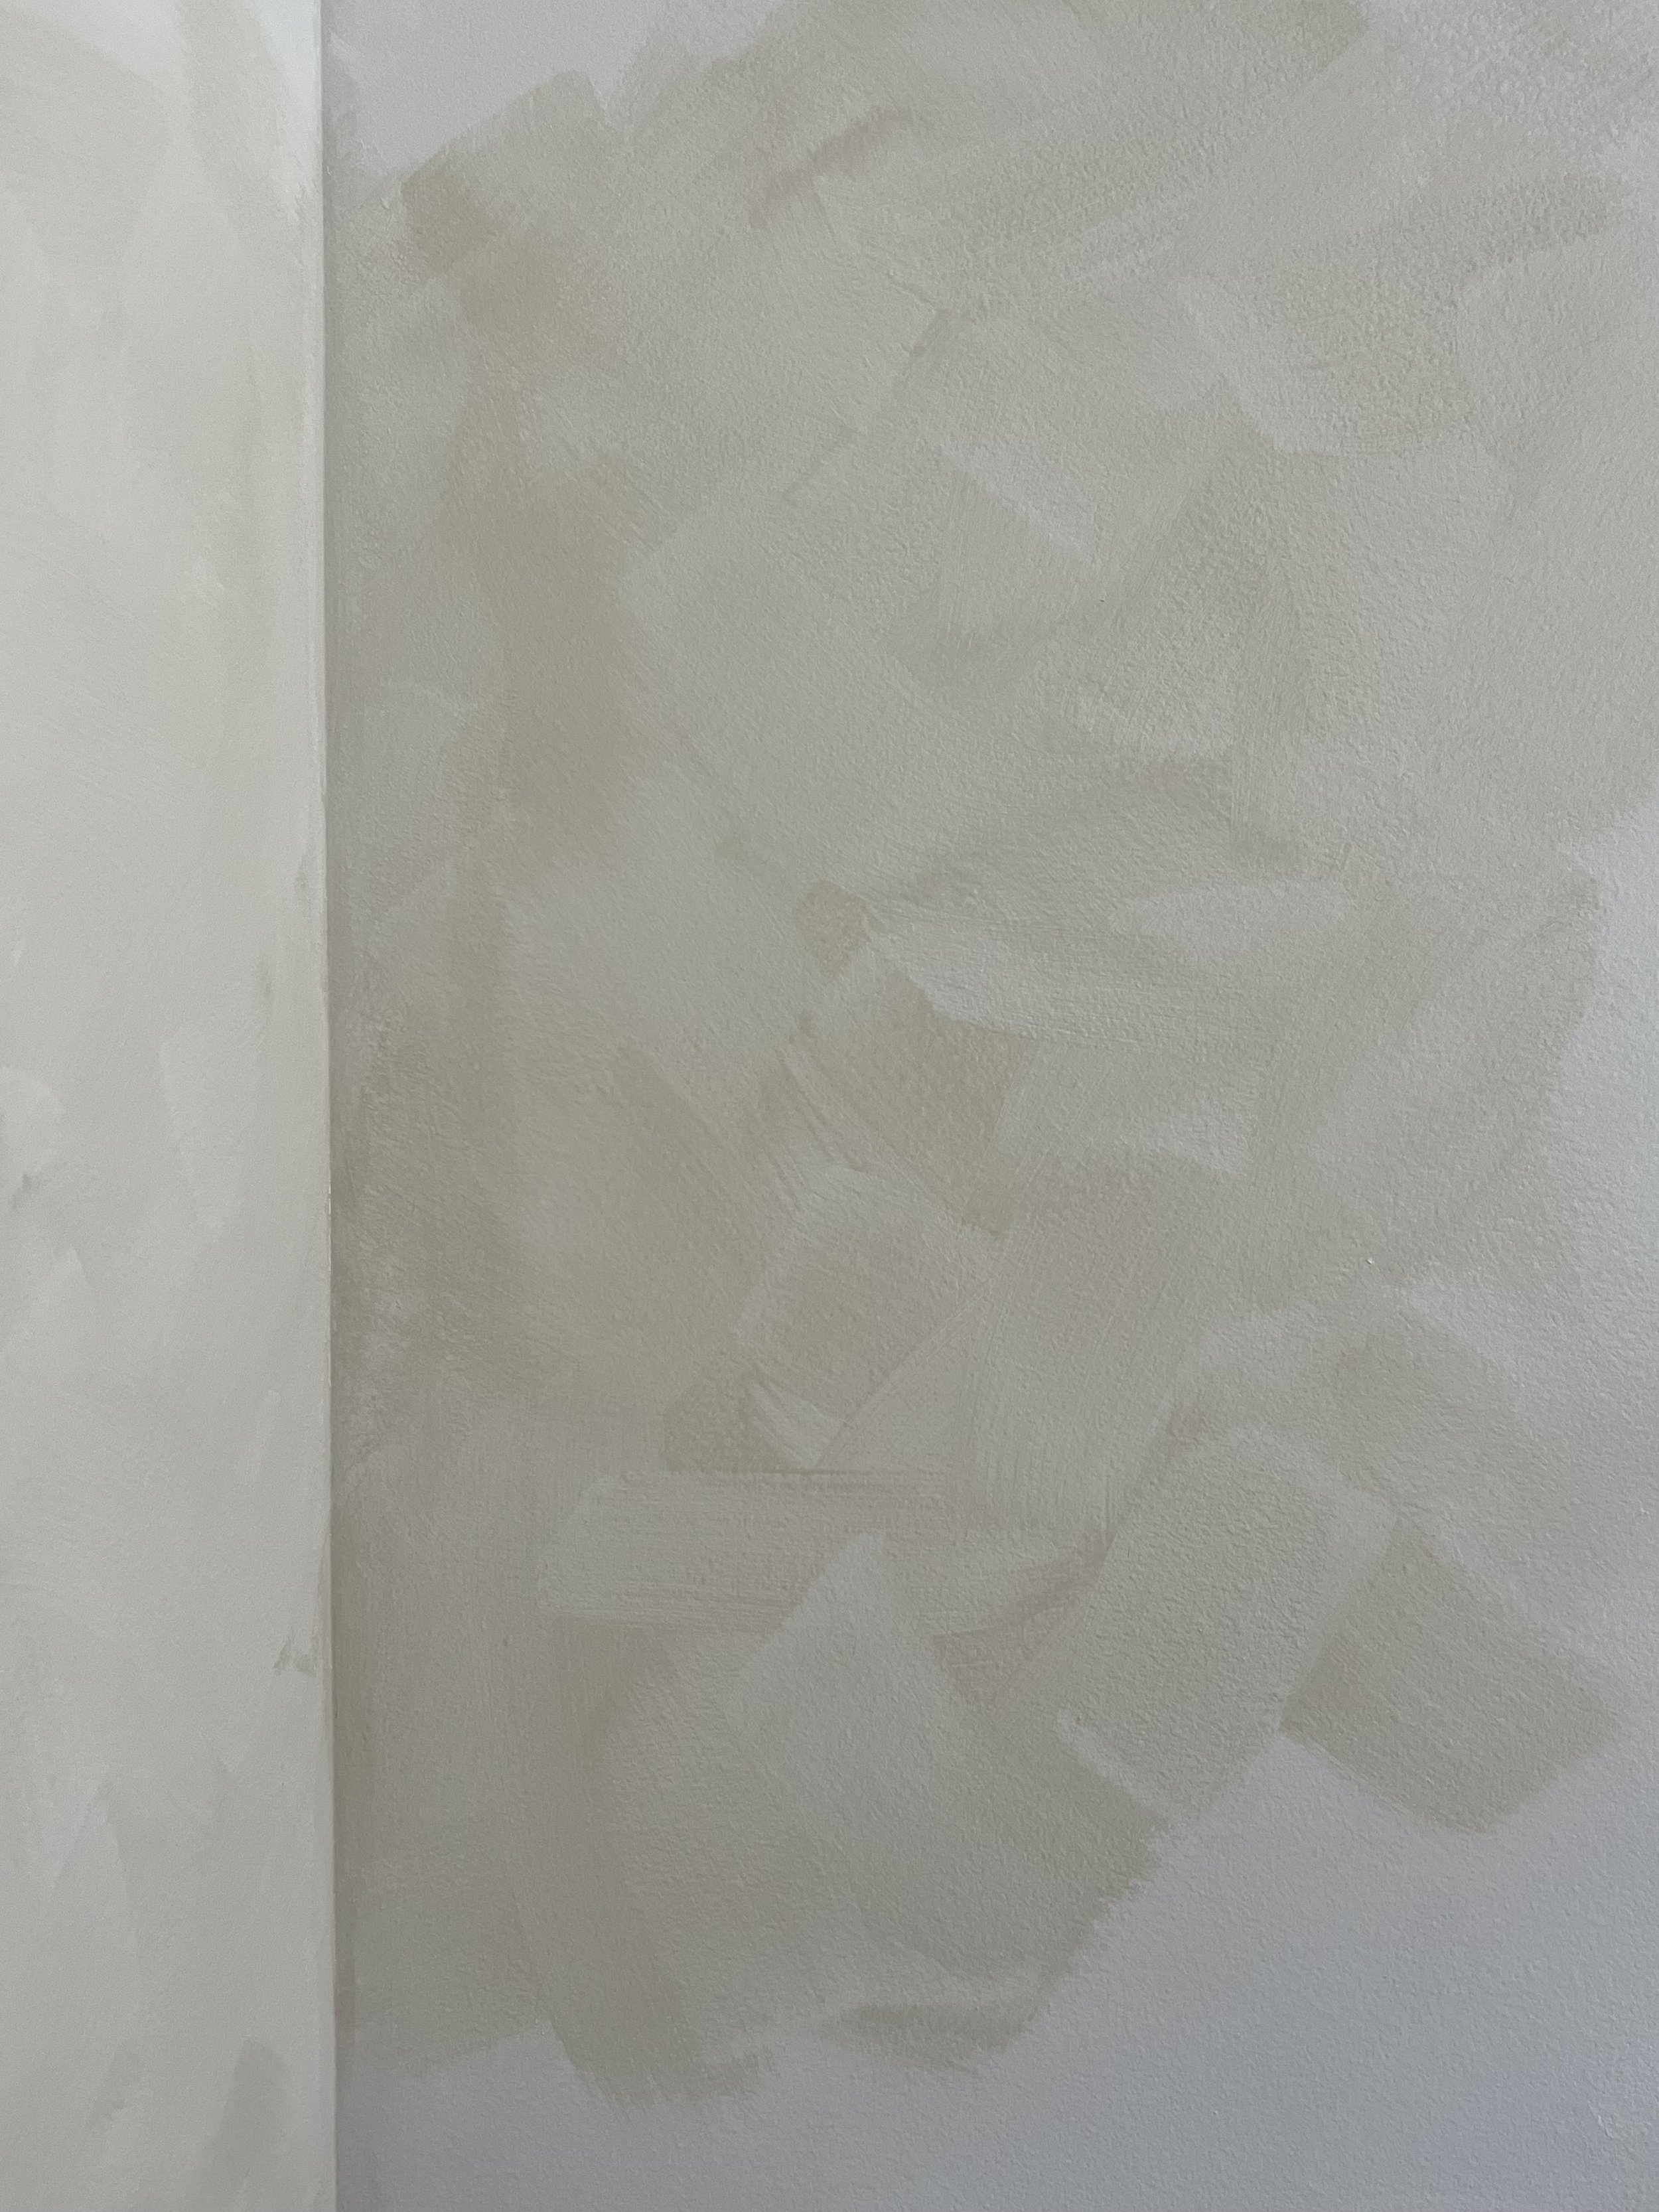
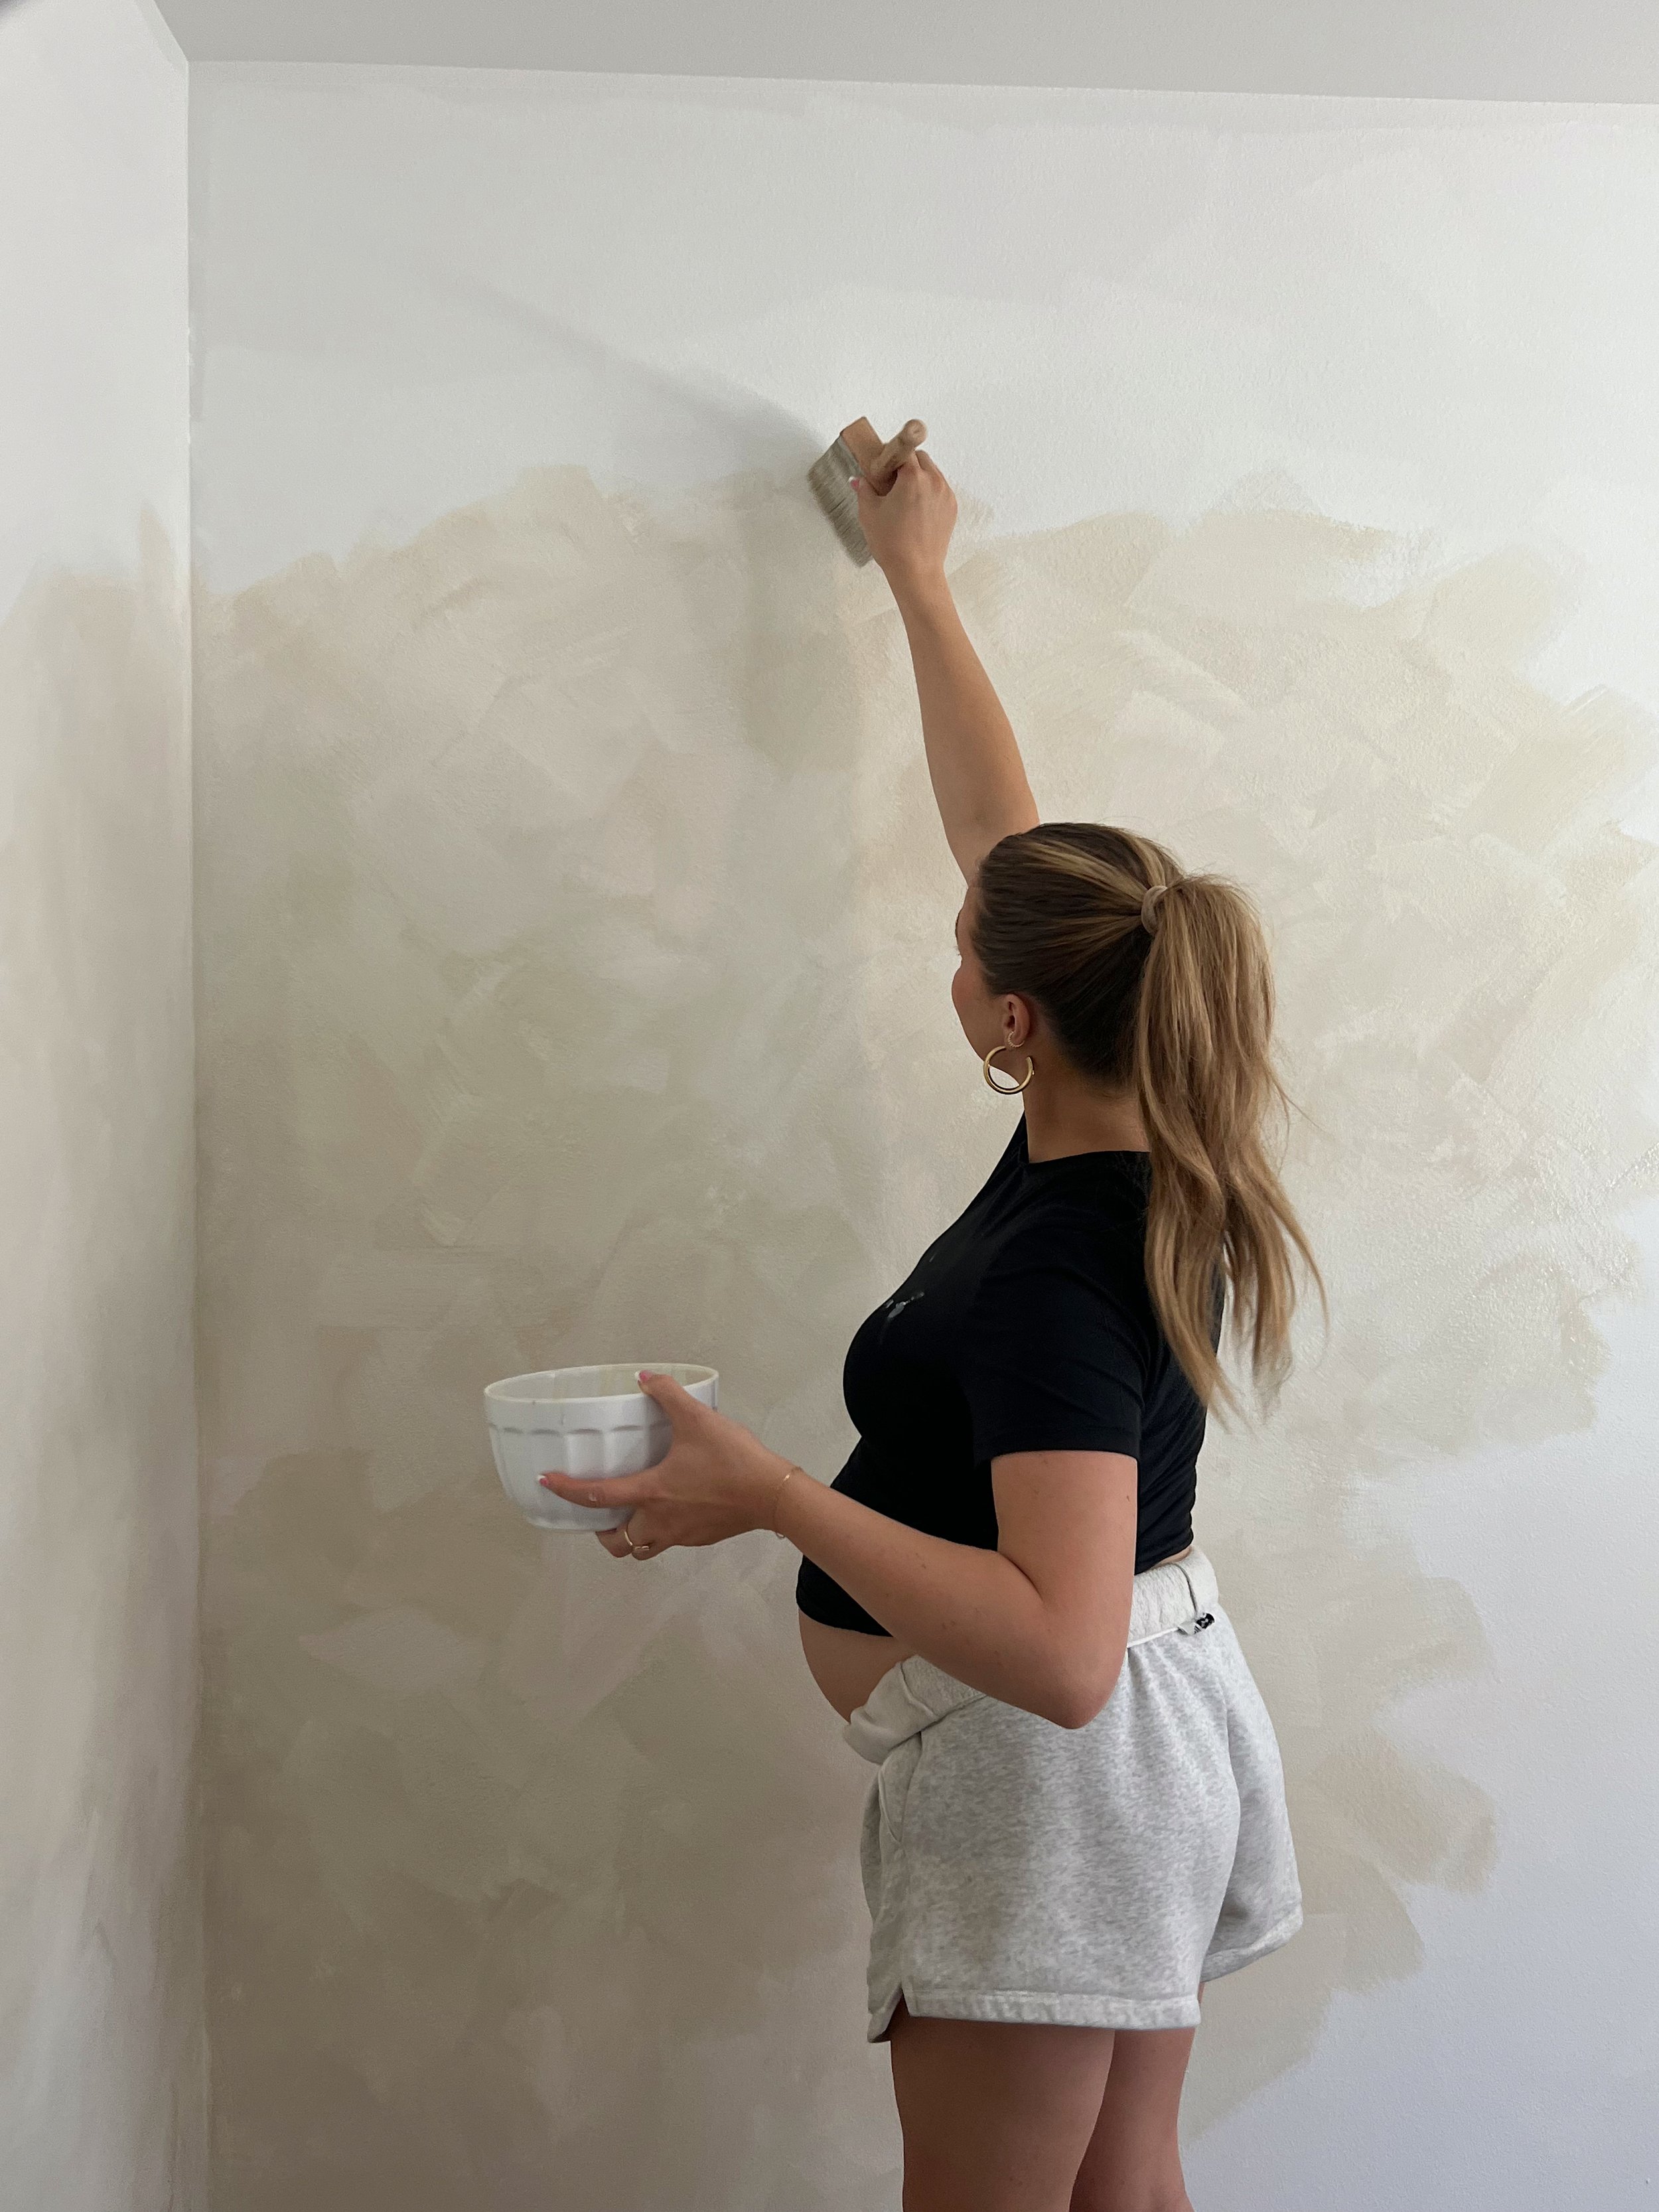
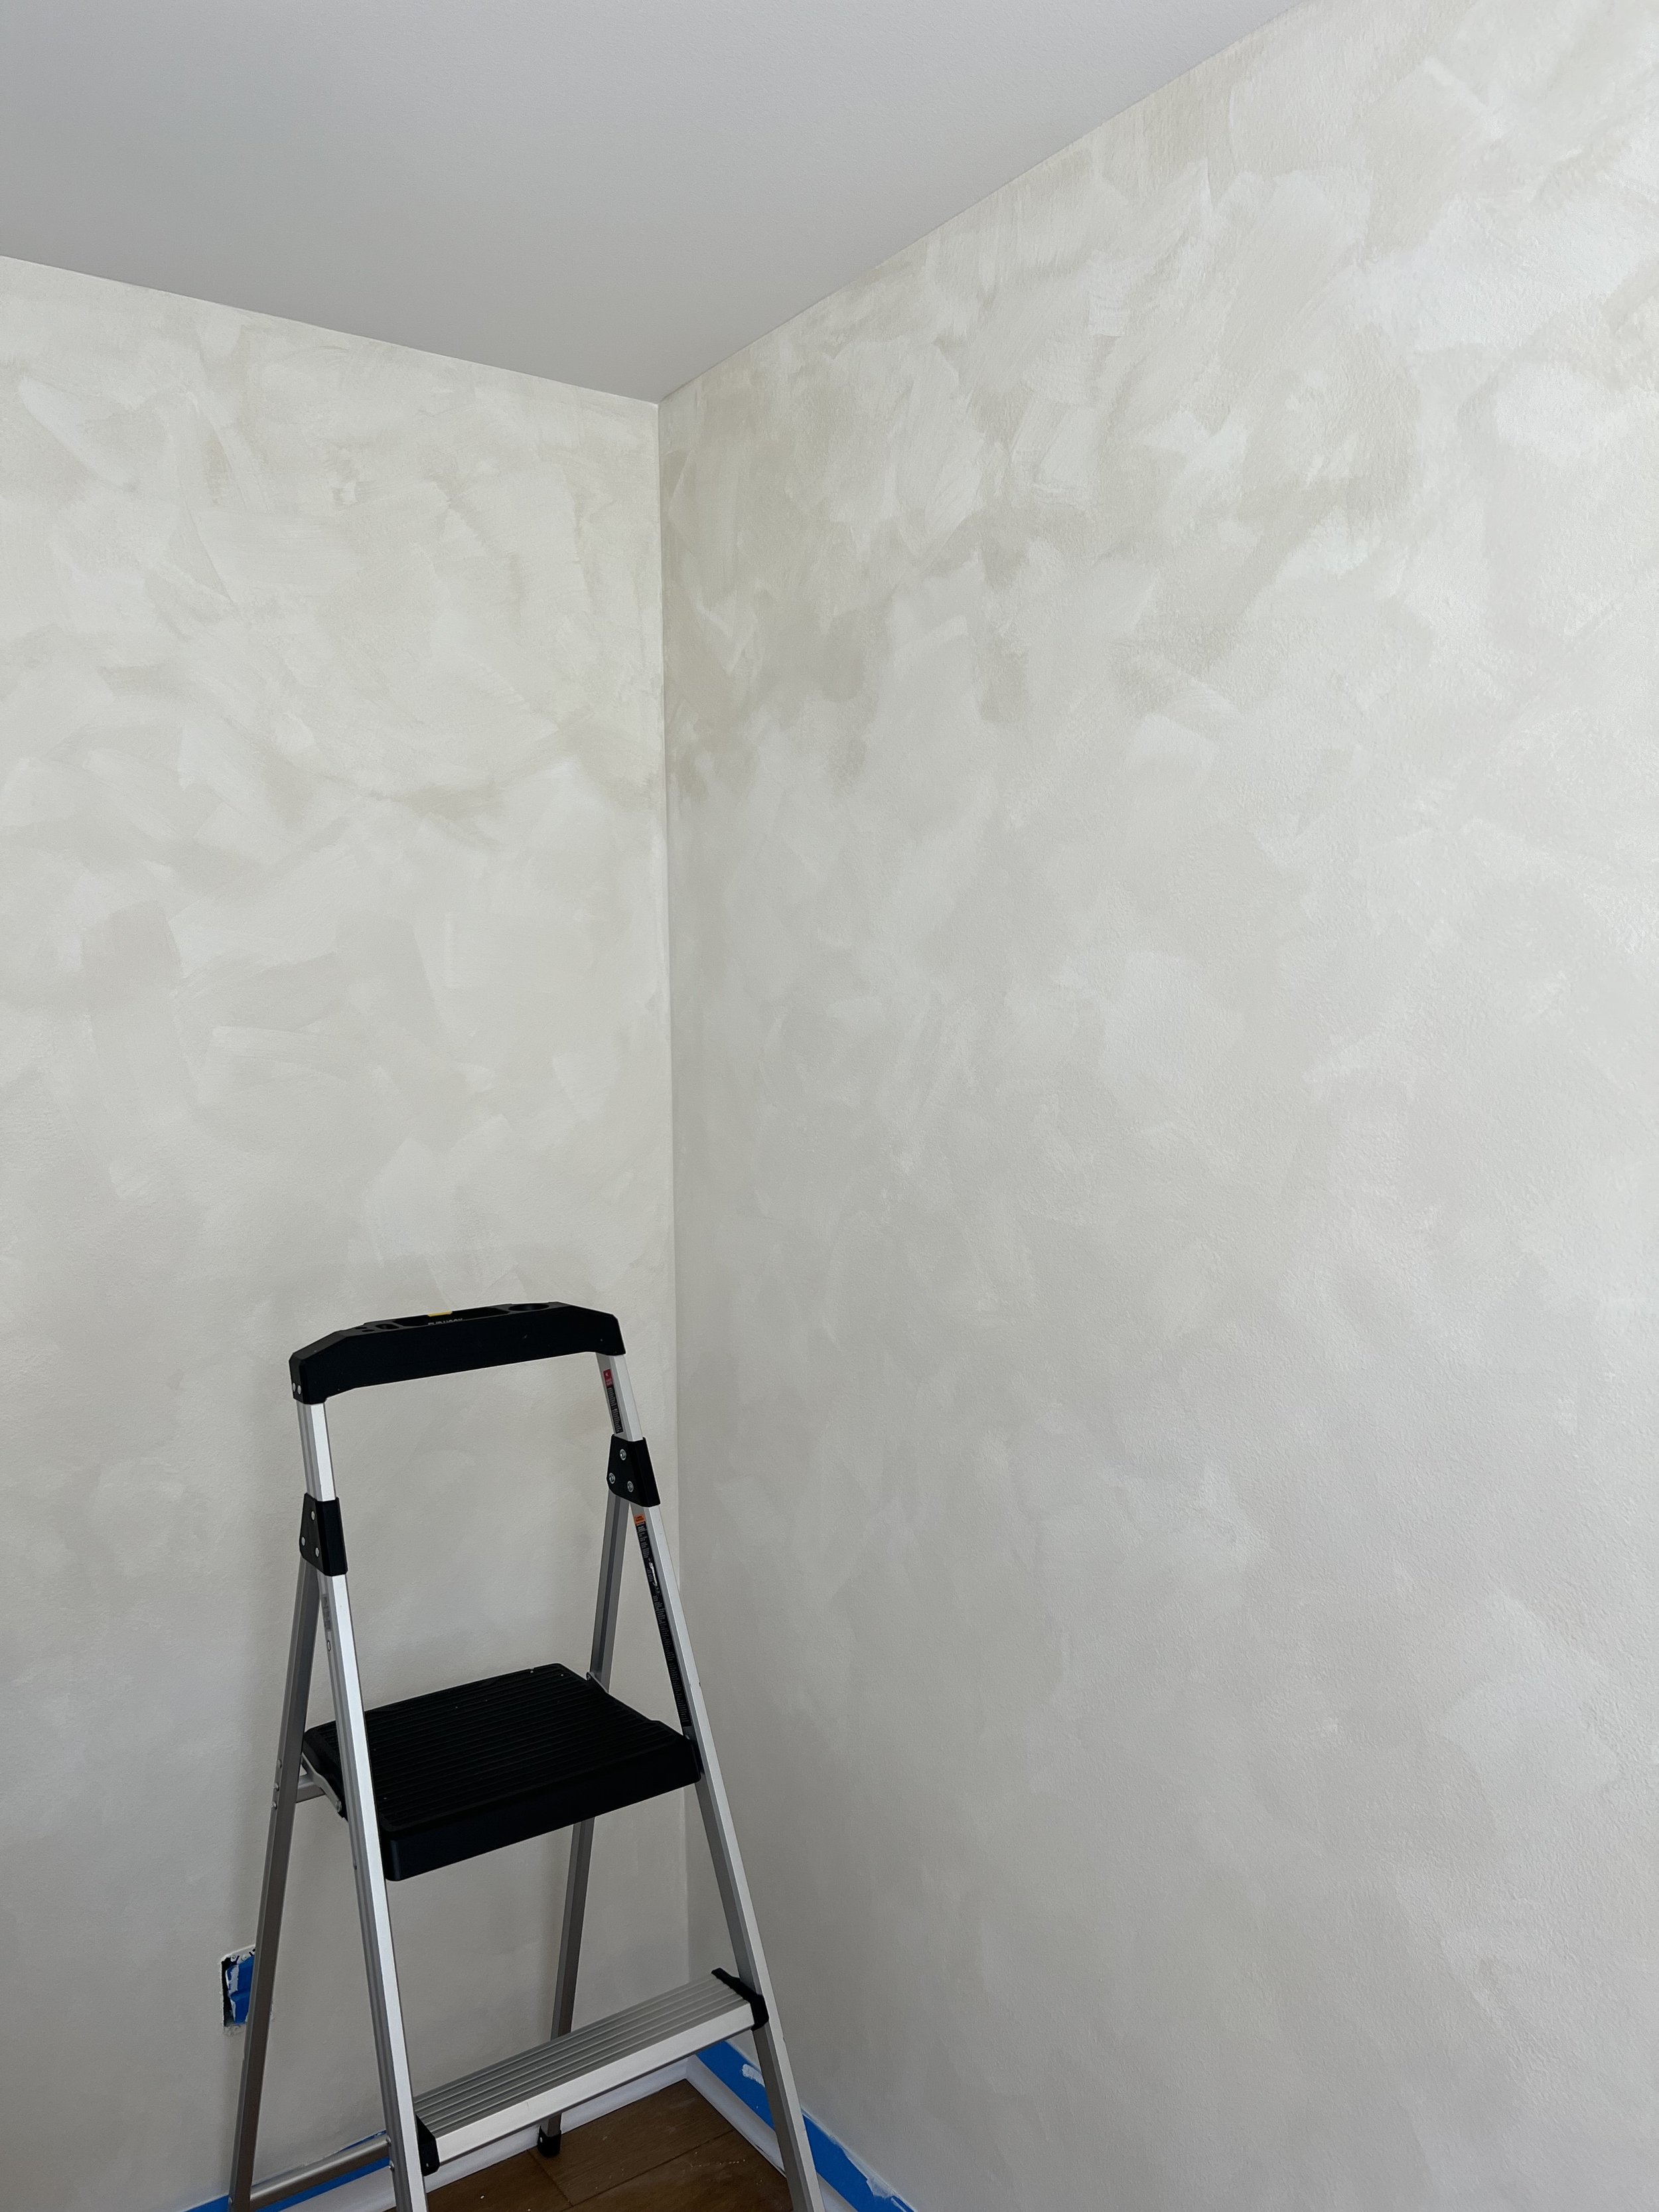
How to use: After walls are primed & you have let them dry for approx. two hours, you can start to apply your first layer of lime paint. Although the primer is applied with a normal roller brush, you will need to use the special brush to get the right look/texture of lime paint. It is a bit more time consuming that painting in the traditional way, but it gives a unique look that is soft and has a lot of motion. The motions you create are like little “X’s” all over the wall - I have video here you can watch for a better idea of what that looks like! It’s ok if the walls show through a bit on the first layer because the second layer will cover the gaps between the paint.
Tips: You can increase the “movement” of light colors by layering two shades. Typically a darker color goes on first and then a lighter color will go on top as a second coat. My first layer in the nursery was Chèvre 150% strength and the second layer was 100% strength.
FAQ: It is free of toxic chemicals and you can paint without fumes. Lime is also high in pH which makes it a mold & mildew resistant finish. You can use a mask if you want to, but lime paint is water based so it doesn’t have the same fumes as typical paint. I just made sure windows were open & a fan was blowing in the room!
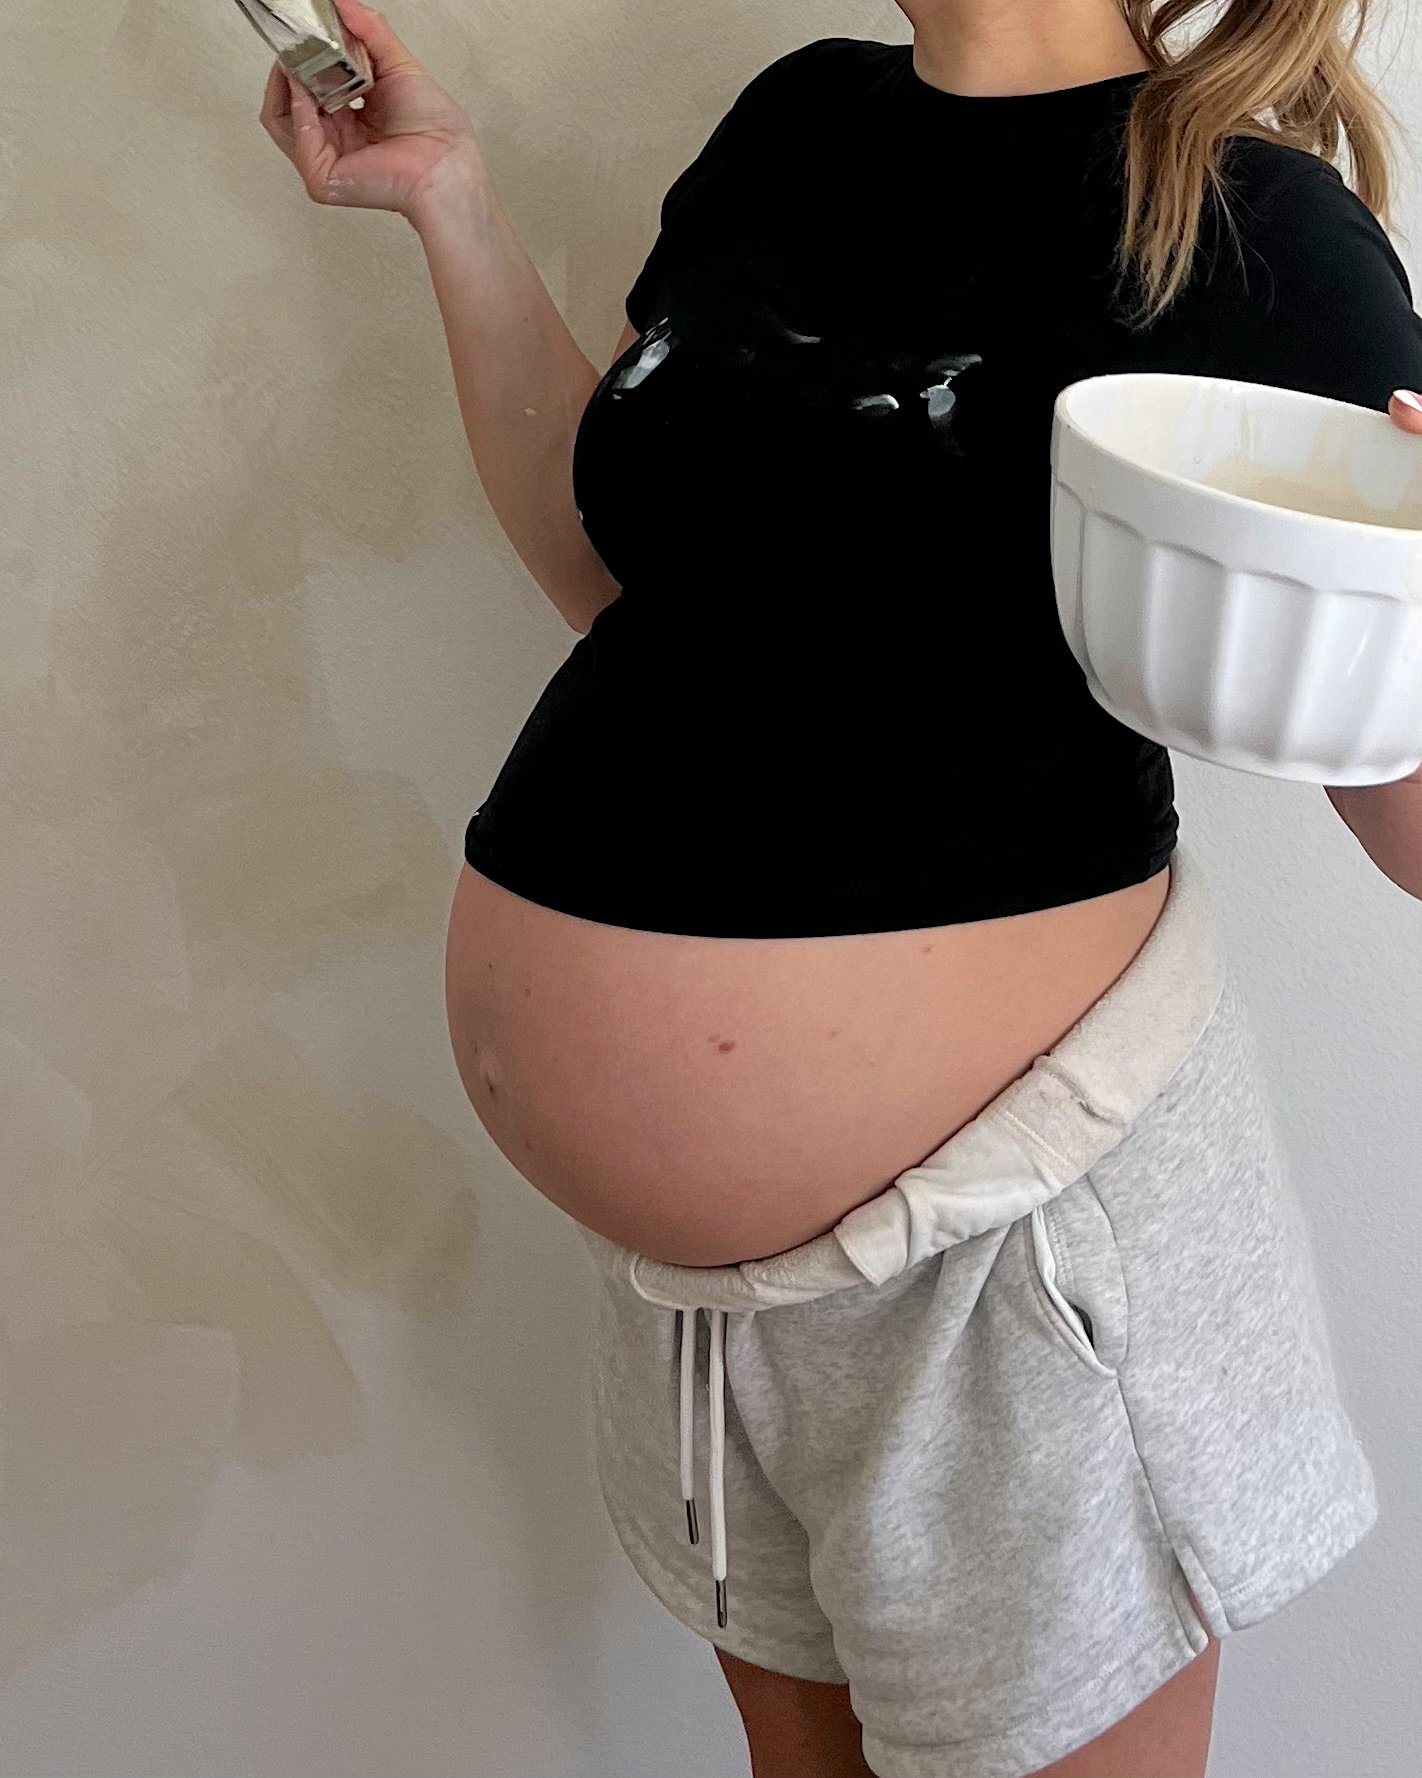
Last Fall I painted our powder bathroom with lime paint, and I’ve been obsessed with the look & feel of it and I knew I wanted to do that in our nursery this time around. Leave it to me to wait until week 33 to clear out the room the nursery is going to be in.. and start painting haha better late than never! Thankfully, lime paint does not take too long to do a full room, and the room is self is not super large, so it only took me two full days to finish the whole room.
I did tape off the walls with painters tape, and took off all of the outlet covers just to have a really clear clean surface to work with. It worked great. After taping the trim/outlets, you want to start off using the lime paint primer; this will prep your walls for that specific type of paint, and leave them with more of a matte finish. The primer rolls on like a normal paint wood with paint rollers, I bought this paint kit from Amazon and I think it arrived the same day, it was pretty good quality, especially just for using it one or two times.
The technique of lime paint is small brushstrokes in little exes all over the wall, which is not a familiar technique if you’re used to painting with a roller. Since this is my second time using this paint, I feel like I got the hang of it a lot easier’ honestly it’s kinda therapeutic because it feels a little bit more artistic than just using a paint roller. I bought the brand Color Atelier for my lime paint since it was the brand I was familiar with when painting our powder bath. I’ve DM’d them a couple times on Instagram asking questions and they’ve always been super responsive and helpful, and their site has a lot of helpful FAQ as well.
I didn’t wear a mask because everything I read about mine paint says it is very low in toxins, and it is water, not oil based, but you could easily wear a face mask if you wanted to. Just make sure your windows open in the room you’re painting & you’ve got a fan on; that’s what I did. The finished look has one coat of primer and two coats of my paint. It gives a little bit of texture and movement to the walls that normal paint does not, and I really like that it gives you some room for error because the look is kind of an imperfect look anyways.